Themes for White Labeling
You can access the white labeling option only if you have Administrator or Read‑only privileges.
The White Labeling (Themes) feature offers comprehensive end-to-end customization capabilities for both enterprise organizations and their associated child organizations. This feature enables partners and customers to tailor the visual identity and support touchpoints of the platform, aligning them with their branding requirements.
As a reseller or MSP, you might want to rebrand your organization in the Virtana Platform with your choice of color, logo, and favicon. The changes you make can be implemented in the platform and in emails. When you rebrand an organization, the changes are reflected in any sub-organization or department associated with the organization.
Changes to the User Interface color and logo are reflected on the login page, in the header bar at the top of each page of the application, and anywhere else the default Virtana color and logo would display. The favicon displays on all browser tabs.
You can also change the logo displayed in emails. The new logo replaces the Virtana logo in all emails sent from the Virtana Platform. This includes report emails, password recovery emails, or others.
The enhanced White Labeling functionality allows you to customize both visual themes and support-related settings, providing a seamless branded experience.
Tip
Always save your changes before navigating away from the page to avoid losing your changes.
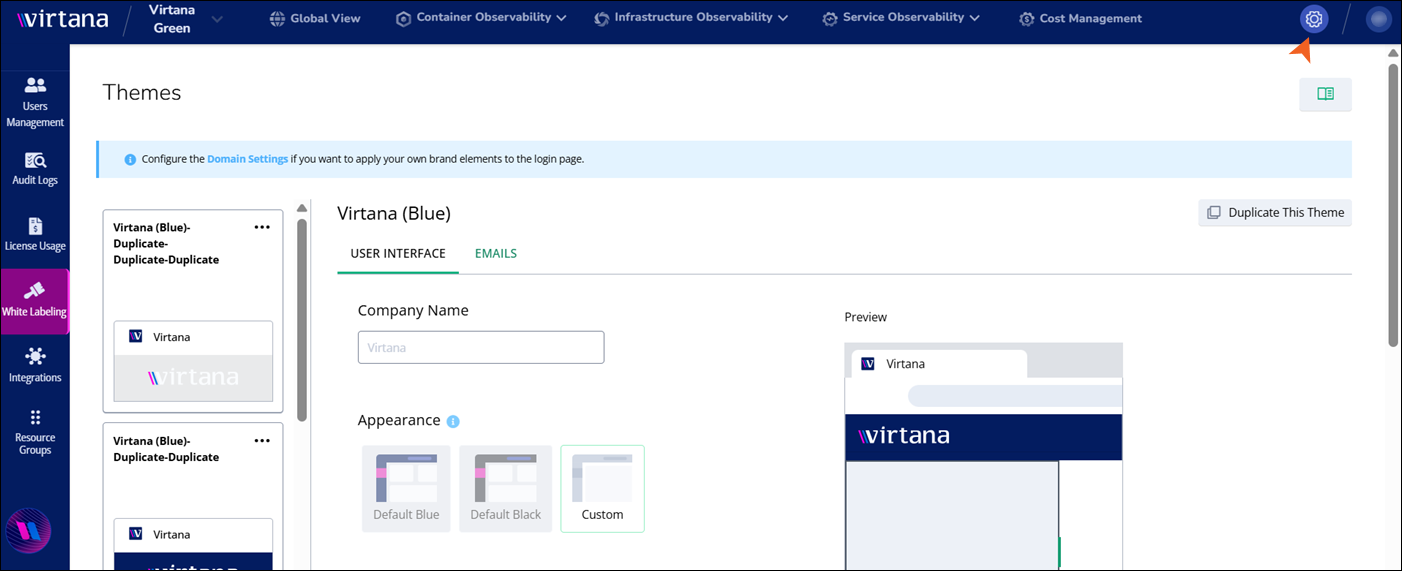
Theme management
Organizations can define and manage visual themes that control the platform’s appearance, including colors, icons, and branding elements. Each organization is provided with two pre-configured themes by default, which include blue and black themes.
In addition to these, you can create custom themes through the following options:
Duplicate an Existing Theme: You can select an existing theme (Blue or Black), duplicate it, and modify the duplicate to suit your branding.
Create a Custom Theme: By selecting the Custom option under Appearance, you can define a theme from scratch with personalized settings.
Theme customization options
When you select Custom under the Appearance, several customization options become available:
Navigation and Login Page Color: This customizes the background and interface color scheme of the platform’s navigation pane and login page. The available color presets are Blue, Black, and Gray. Custom colors can also be defined using color pickers or hex values.
Accent Color: This controls the color applied to the selected item in the left navigation panel and the header bar. It helps highlight interactive UI elements in line with the brand’s color palette.
Visualization Color: This defines color coding for data visualizations and graphs to reflect brand aesthetics or improve data clarity.
Favicon and UI Logo: This customizes the Favicon icon displayed in the browser tab and the User Interface Logo displayed within the UI header or dashboard area.
These assets allow organizations to reinforce their brand identity through the user interface.
Customizing your logo
Make sure your logo meets the following requirements before uploading:
Format: Interface Icon should be 16px*16px and should be in
.SVGor.PNGformat only with a transparent background.Scaling: The uploaded image is automatically scaled to fit the available space in the top navigation and on the login pages. Therefore, it is strongly recommended that you use the SVG format for best results. If you upload a PNG image, make sure the image is large enough to avoid being stretched and blurred in the UI.
UI Placeholder Sizes
Maintain the following placeholder size for the UI:
Top navigation: 210px*28px
Login page: 200px*80px
Favicon Requirements
Upload a custom favicon to replace the Virtana default icon in browser tabs. Favicon Icon should be 16px*16px and should be in .SVG or .PNG format only.
Customize your email
This tab enables you to configure brand elements and support metadata that are injected into outbound system emails. You can also include support email, documentation, portal, and website links that appear in the email footer.
Under the Email tab of the white labeling settings, you can configure:
Support Contact Information: This customizes links to support documentation or contact pages.
Invitation Email Branding: This uploads a company logo to be displayed in user invitation emails. It tailors the support details and footer to reflect the organization’s branding and contact structure.
This ensures that all communication from the platform, especially onboarding emails, maintains consistency with the organization’s branding.
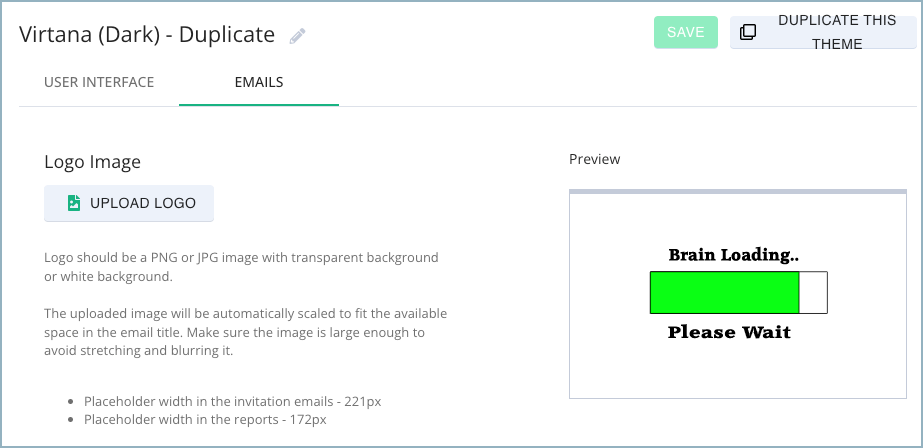
Customizing your logo
Make sure your logo meets the following requirements before uploading:
Format: SVG or PNG with a transparent or white background.
If you have a white or primarily white logo, you can upload a version with a dark background.
Scaling: The uploaded image is automatically scaled to fit the available space in the email title. Therefore, make sure the image is large enough to avoid being stretched and blurred in the email.
Email Placeholder Sizes
Maintain the following placeholder width:
Invitation emails: 221px
Report emails: 172px
Implement your theme
Once a theme is configured and saved, it can be activated for the organization. The active theme will immediately ensure a consistent experience across the platform.