Dell EMC PowerFlex Integration
 |
The Dell EMC PowerFlex (formerly VxFlex OS) Integration captures PowerFlex metrics through the PowerFlex Gateway and sends them to the IO appliance to apply problem-solving analytics across hundreds of metrics. Use IO to get control over cache and capacity utilization, optimize application performance, and quickly troubleshoot problems.
The IO 10-second infrastructure summaries are derived from over 400 PowerFlex-specific metrics including:
PowerFlex Cache Usage
Cache Entry Eviction Count
Cache Big Bloc Eviction Count
Cache No Eviction Count
SDS Capacity
Capacity Used
SDS Latency
DOM Client Avg Read latency
DOM Client Avg Write Latency
DOM CompMgr Avg Read Latency
DOM CompMgr Avg Rec Write Latency
DOM CompMgr Avg Write Latency
Configuring Dell EMC PowerFlex Integration
From the Settings tab, click Integrations in the Probes and Integrations section, and then click the View button for Dell EMC PowerFlex.
The Dell EMC PowerFlex page is displayed, with information about existing PowerFlex integrations.
To create a new Dell EMC PowerFlex Integration, click New.
The New Dell EMC PowerFlex page is displayed.
Complete the following fields:
Name
Hostname/IP
Username
Password
Port
All fields are required.
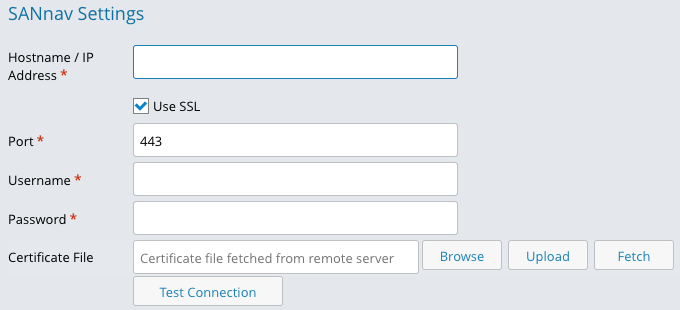
The Use SSL checkbox is on by default. If selected, you must either upload your certificate from your local system using the Browse button or fetch the certificate from yourPowerFlex system using the Fetch button. If the Use SSL check box is not selected, the Certificate File field is not present. Please see the SSL Certificate Handling section for more details.
Click Browse to select a Certificate File.
You can click Save at any time to save the current status of the operation.
Click Save and then Start Discovery.
SSL Certificate Handling
This integration requires a secure connection to the target device, which can be achieved automatically if the device has a certificate that has been signed by a root certificate authority. If this is the case, you may complete the form and click the Next button to proceed to the next page of the configuration.
If your device does not have a properly signed certificate, you may associate a certificate (for example, a self-signed certificate) with the device using one of the two following methods.
Automatically fetch the certificate from the target system. A valid IP address and port number are required.
Upload the certificate from your local system.
The first page of the VMware vSphere configuration looks like this:
Using Fetch to Automatically Retrieve a Certificate
Clicking on the Fetch button will trigger an action that will automatically fetch the certificate from the target system. There are two cases:
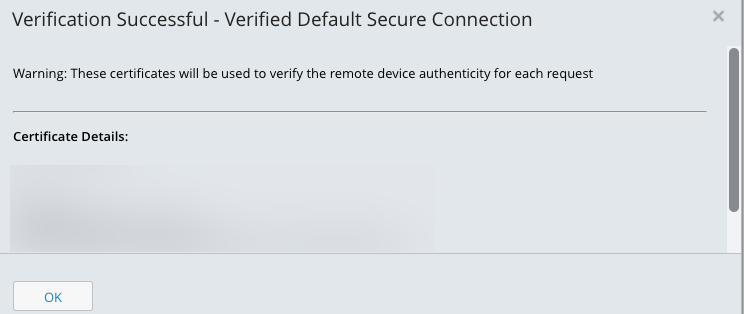
If the fetched certificate has been signed by a valid root certificate authority you will see a popup window with the details of the certificate as shown below. Press OK to continue configuration. Fill in the Name and authentication fields and click the Next button in the upper right hand corner of the screen.
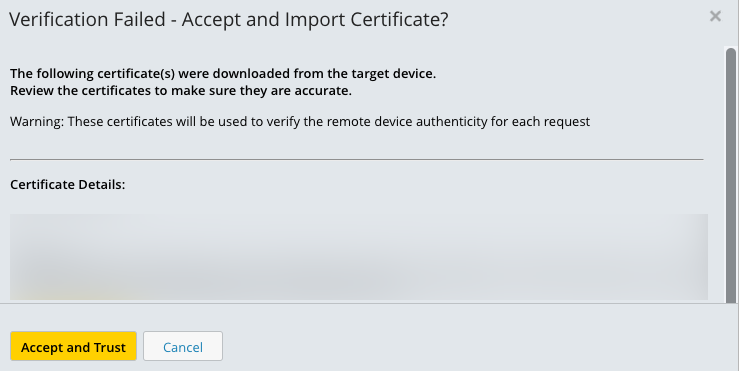
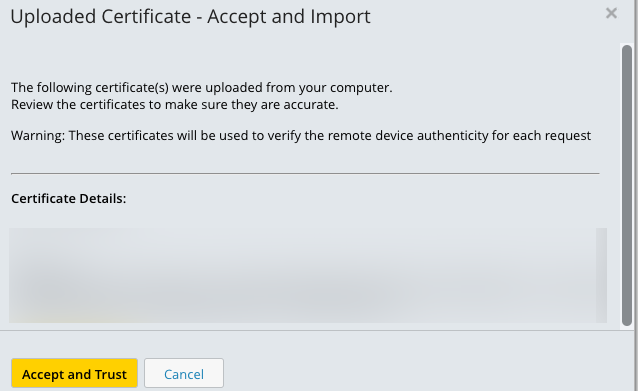
If the fetched certificate is, for example, a self-signed certificate, you will see a popup window with the details of the certificate as shown below. You may either Accept and Trust the retrieved certificate or you may Cancel. If you accept, the Certificate File field will be updated to display "Certificate file fetched from remote server". Fill in the Name and authentication fields and click the Next button in the upper right hand corner of the screen.
Uploading a Certificate
Clicking on the Browse... button will prompt you to upload a certificate from your local system. The Certificate File field will be updated to display the name of the uploaded file. Fill in the Name and authentication fields and click the Next button in the upper right hand corner of the screen.
Viewing the Locally Stored Copy of a Certificate
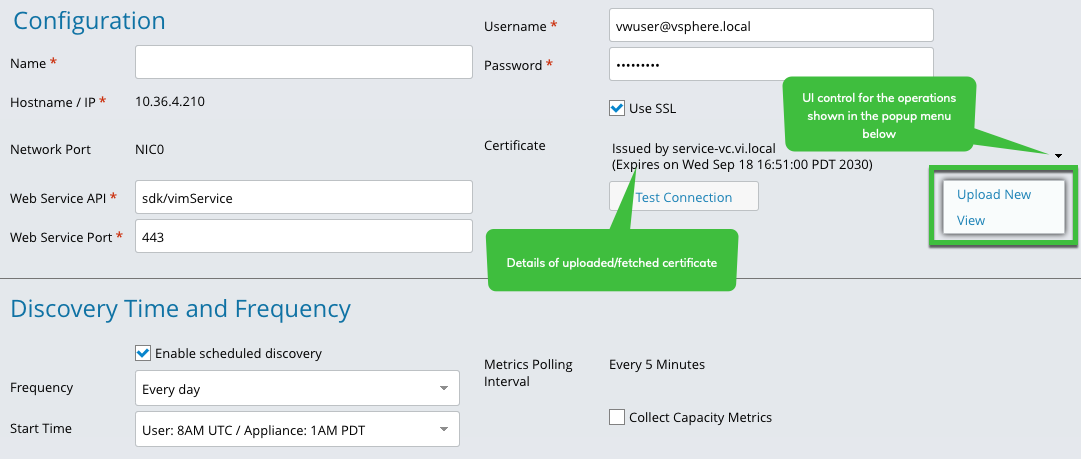
The second page of the VMware vSphere configuration provides UI elements that contain (1) details of the fetched or uploaded certificate and (2) a way to view the current certificate or upload a new/updated certificate.
Uploading a New Certificate Post-Configuration
As shown above, there is an option to upload a new certificate after the initial configuration via the Upload New menu item. A new control will open, as shown below. Click on the Browse or Fetch buttons to either upload a certificate from your local machine or fetch the certificate from your device. In either case, you must also click on the Upload button once the certificate is loaded to save the new certificate to IO.
