Create a User
You can create local or LDAP or SSO user accounts.
Creating a New Local or LDAP or SSO User Account
From the Settings page, select User Management, then User Roles and Groups.
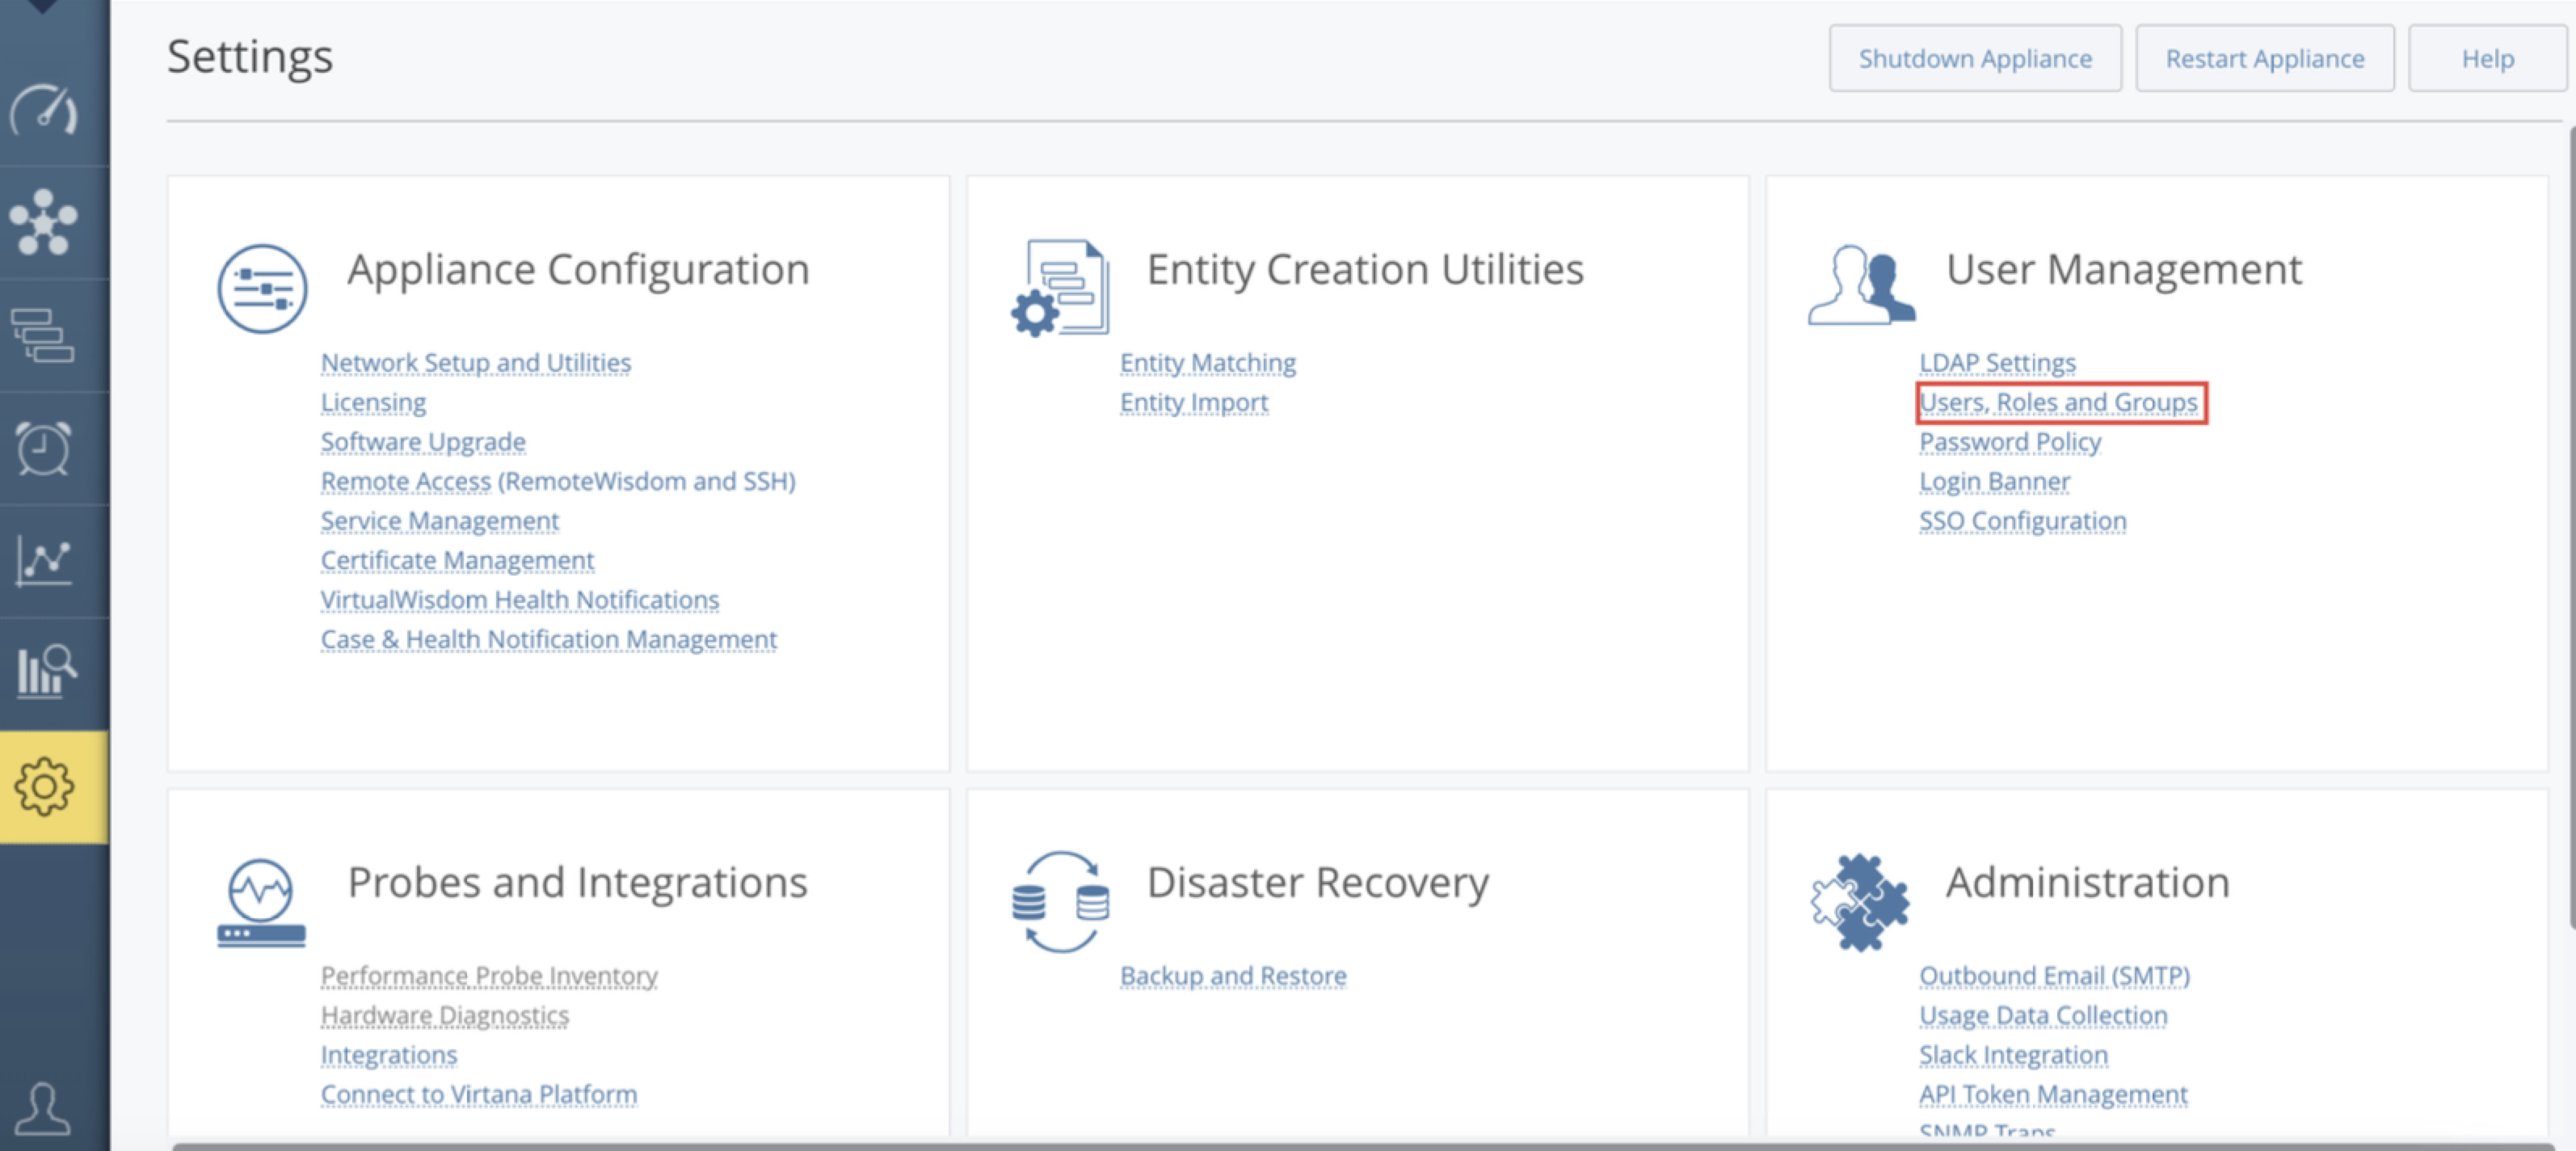
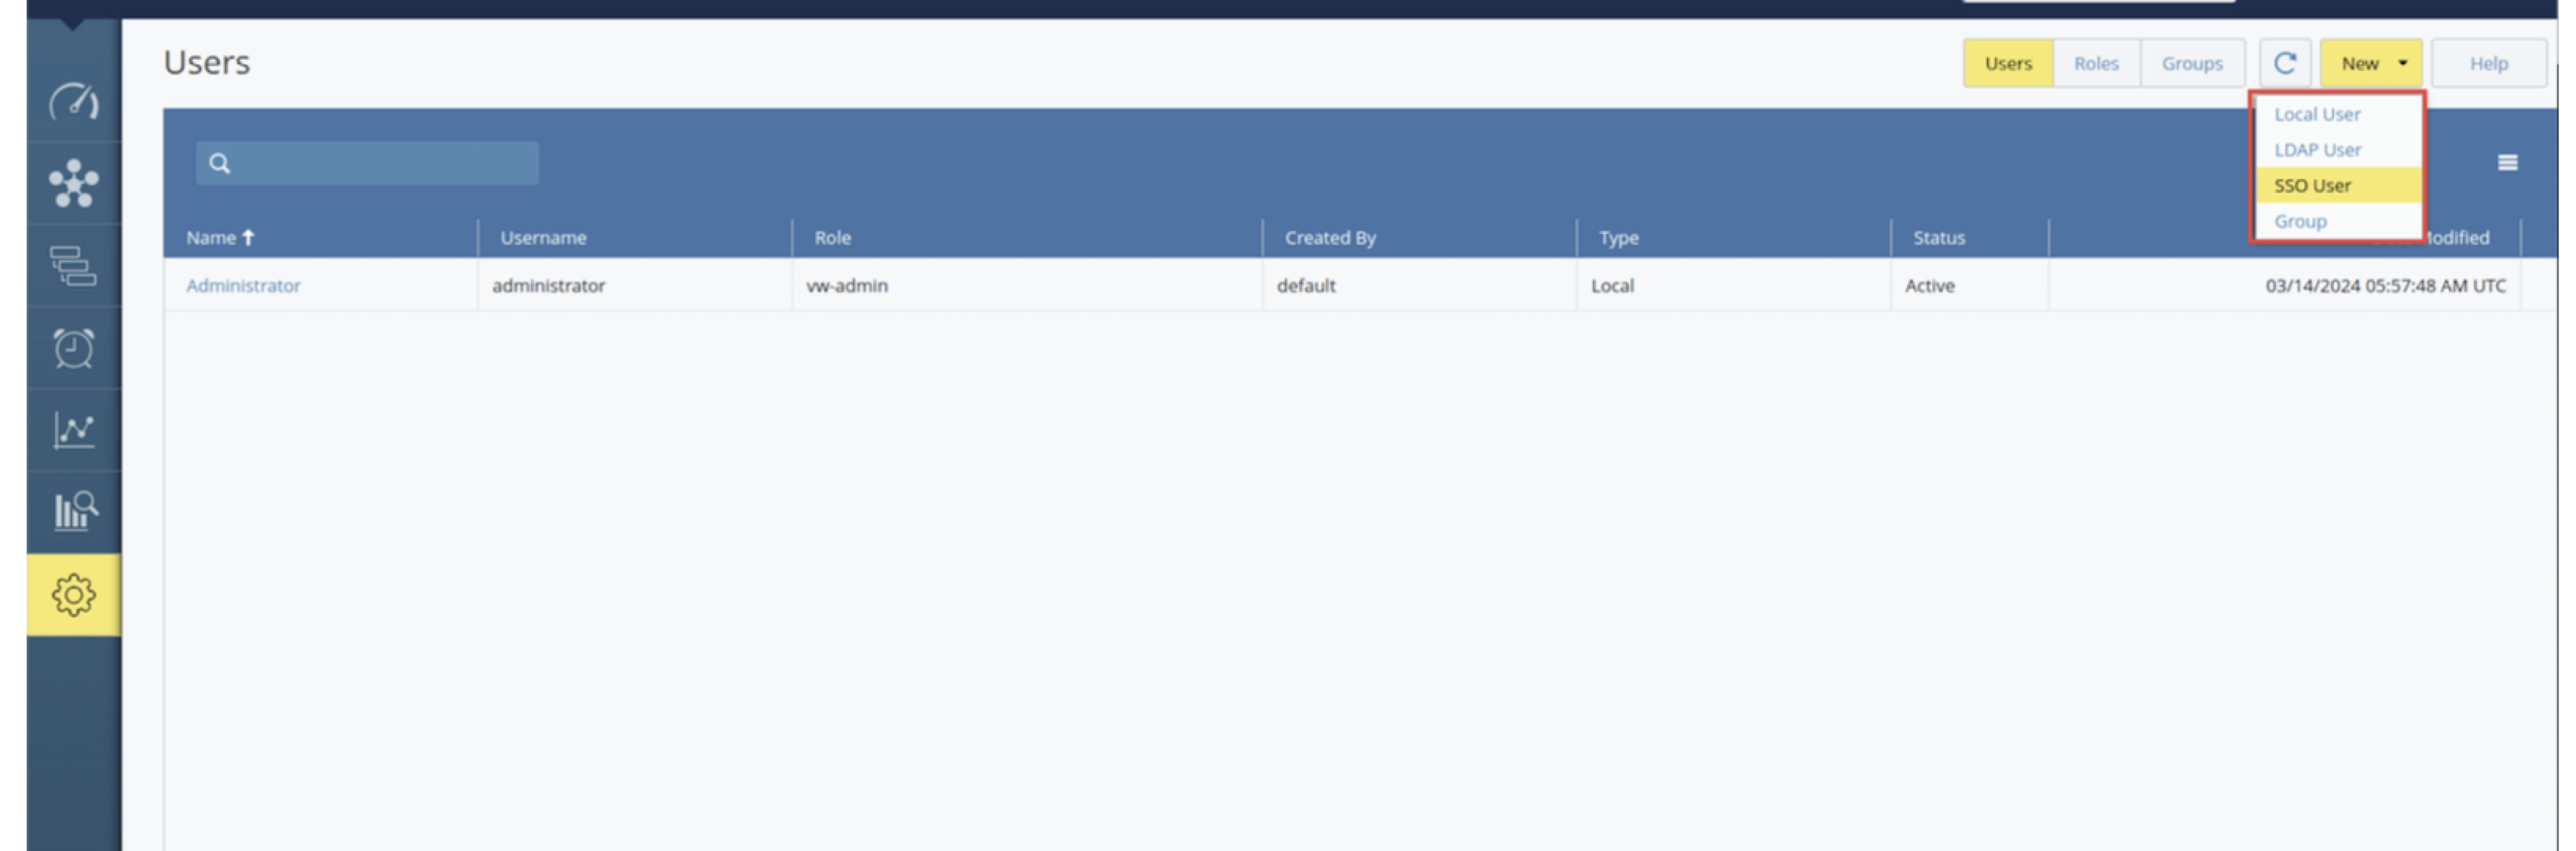
Select New, and then select Local User or LDAP User or SSO User from the drop-down menu.
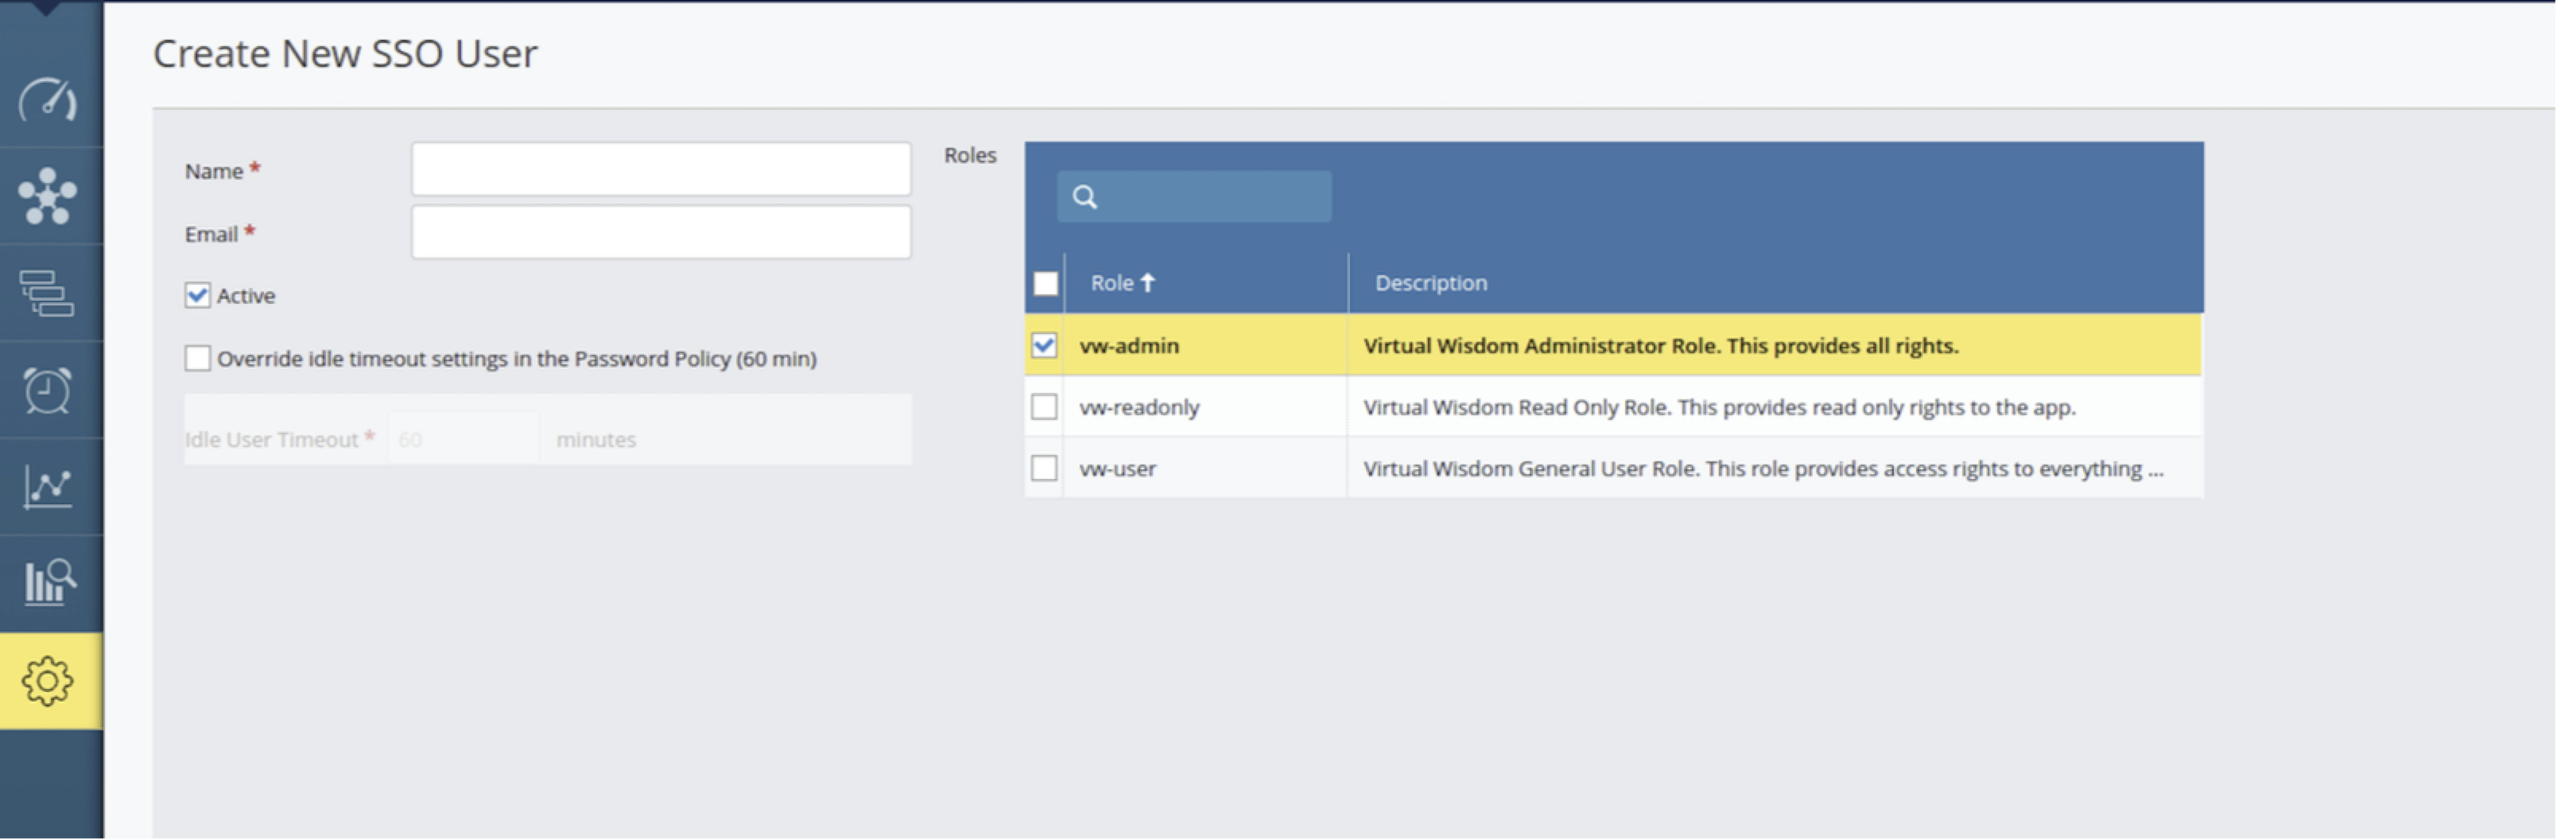
Depending on your selection the Create New Local User or the Create New LDAP User or Create SSO User page is displayed.
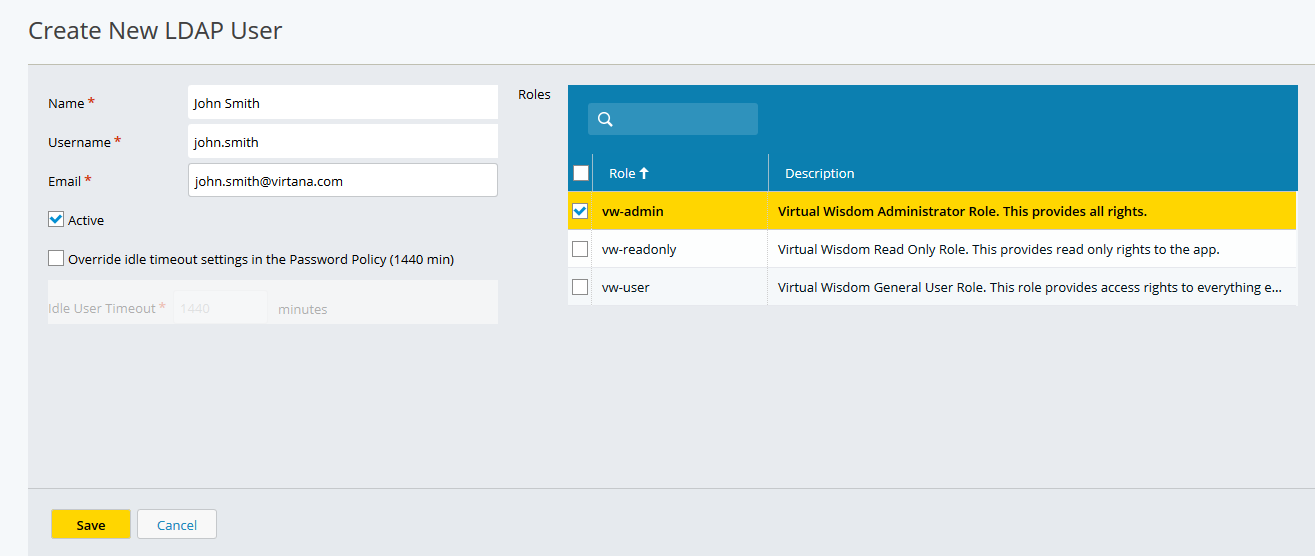
Enter the user's information, select a role, and then click Save.
LDAP user information is auto-populated from the client's LDAP account as soon as you start to enter the name, email, or username of the LDAP user.
Note
Usernames are case-sensitive.
By selecting “Override idle timeout settings...”, an administrator can override the Idle User Timeout value that is set in the Password Policy.
Verifying the New Local or LDAP User
Click the arrow where the current logged-in username is displayed and select Sign Out (from the drop-down menu) to log out of the Administrator account.
You are returned to the login page.
Use the newly created username and password for the account that you just created.
You are now logged in as the new user.
Note
If you attempt to log in to IO three times with incorrect login/password credentials, you need to complete a CAPTCHA (Completely Automated Public Turing test to tell Computers and Humans Apart) challenge-response test to log in to IO.
Configuring Single Sign-On (SSO):
Navigate to Settings > User Management and locate the new option labelled "SSO Configuration"

Virtana IO supports SAML 2.0–based Single Sign-On (SSO), which allows users to authenticate through an external Identity Provider (IdP) such as Okta, Azure AD, and so on. With SSO enabled, users can access Virtana IO using their organizational credentials without creating separate local accounts.
To configure SSO, create a SAML application in your Identity Provider and provide the required values from the Virtana IO appliance.
SAML Application Configuration
When creating the SAML application, configure the following parameters using the fully qualified domain name (FQDN) of your Virtana IO appliance.
Entity ID: The Entity ID (https://FQDN/) uniquely identifies Virtana IO as the Service Provider (SP) in the SAML authentication process.
Example: https://demo24.virtana.com/
Depending on your Identity Provider, this field may also appear as:
Audience URI
Identifier
SP Entity ID
Reply URL: The Reply URL (https://FQDN/api/sec/saml/login), also known as the Assertion Consumer Service (ACS) URL, is the endpoint where the Identity Provider sends the SAML authentication response after the user successfully signs in.
For example, https://demo24.virtana.com/api/sec/saml/login
Some Identity Providers may refer to this field as:
Single Sign-On URL (SSO URL)
ACS URL
Assertion Consumer Service URL
SSO: The Sign-on URL is used when authentication is initiated from the Virtana IO login page, also known as service provider-initiated SSO (SP-initiated SSO). This field is optional and can typically be left blank unless your Identity Provider specifically requires it.
Note
Ensure that the username attribute returned by the Identity Provider matches the user email address configured in Virtana IO. This allows Virtana IO to correctly map authenticated users to their accounts.
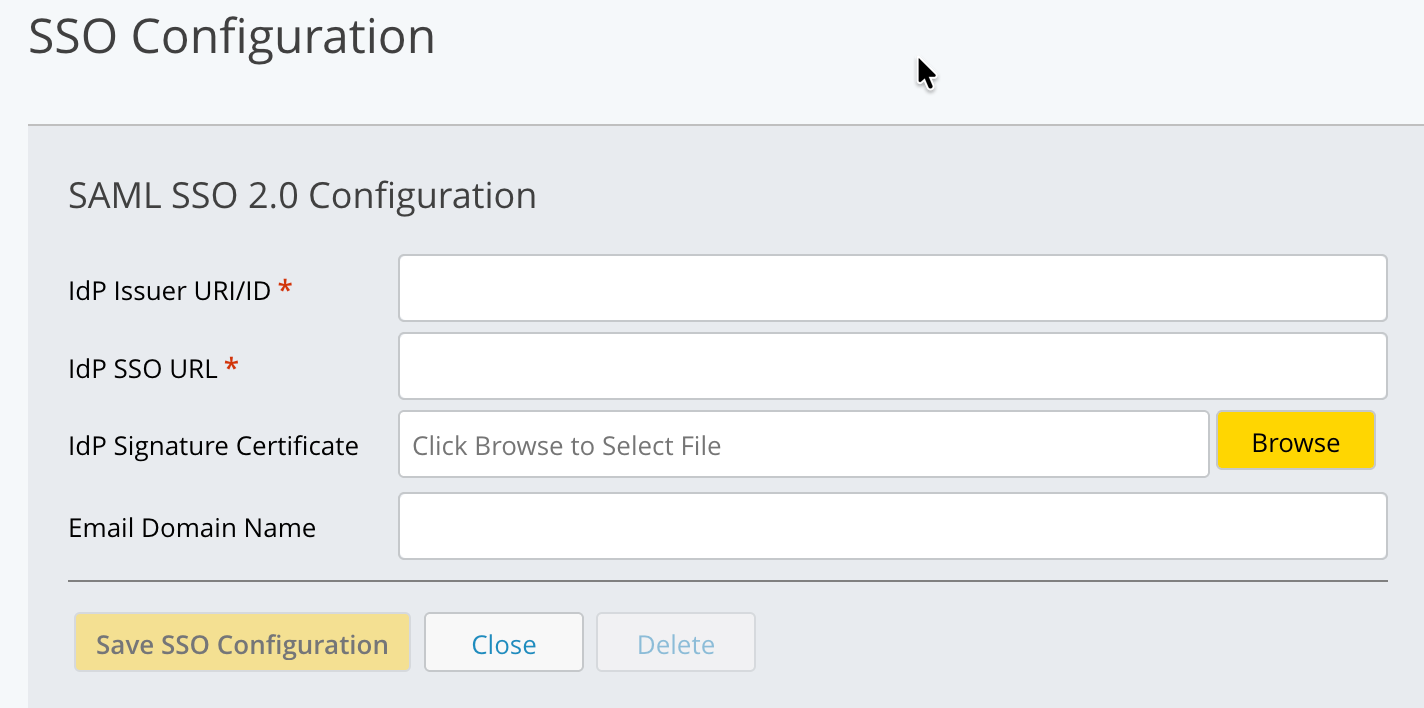
Within the SSO Configuration page, you can input and save the following SSO configuration details:
IdP Issuer URI/ID - The unique identifier of the Identity Provider that Virtana IO uses to validate SAML assertions.
IdP SSO URL - The Identity Provider endpoint where Virtana IO redirects users for authentication during the SSO login process.
IdP Signature Certificate - The public certificate provided by the Identity Provider used by Virtana IO to verify the digital signature of incoming SAML responses.
Email Domain Name - The email domain (for example, example.com) used to associate SSO-authenticated users with the correct Identity Provider and Virtana IO user accounts.
Note
When utilizing the SSO feature:
There will be no password field present for SSO users during login.
During SAML authentication, if a user is not found, a new account is automatically created. It uses the default name provided in the SAML response attribute name 'name'. If this attribute is not provided, the system extracts the portion of the email address preceding the @ symbol. The attribute with name 'groups' is accepted for group assignment. The given group names are searched in IO and assigned to the given user. By default, the newly created user is assigned the vw-readonly role, which can be configured through a UI property:
During login, no password field will be present.
Users can log in using their SSO username/email.
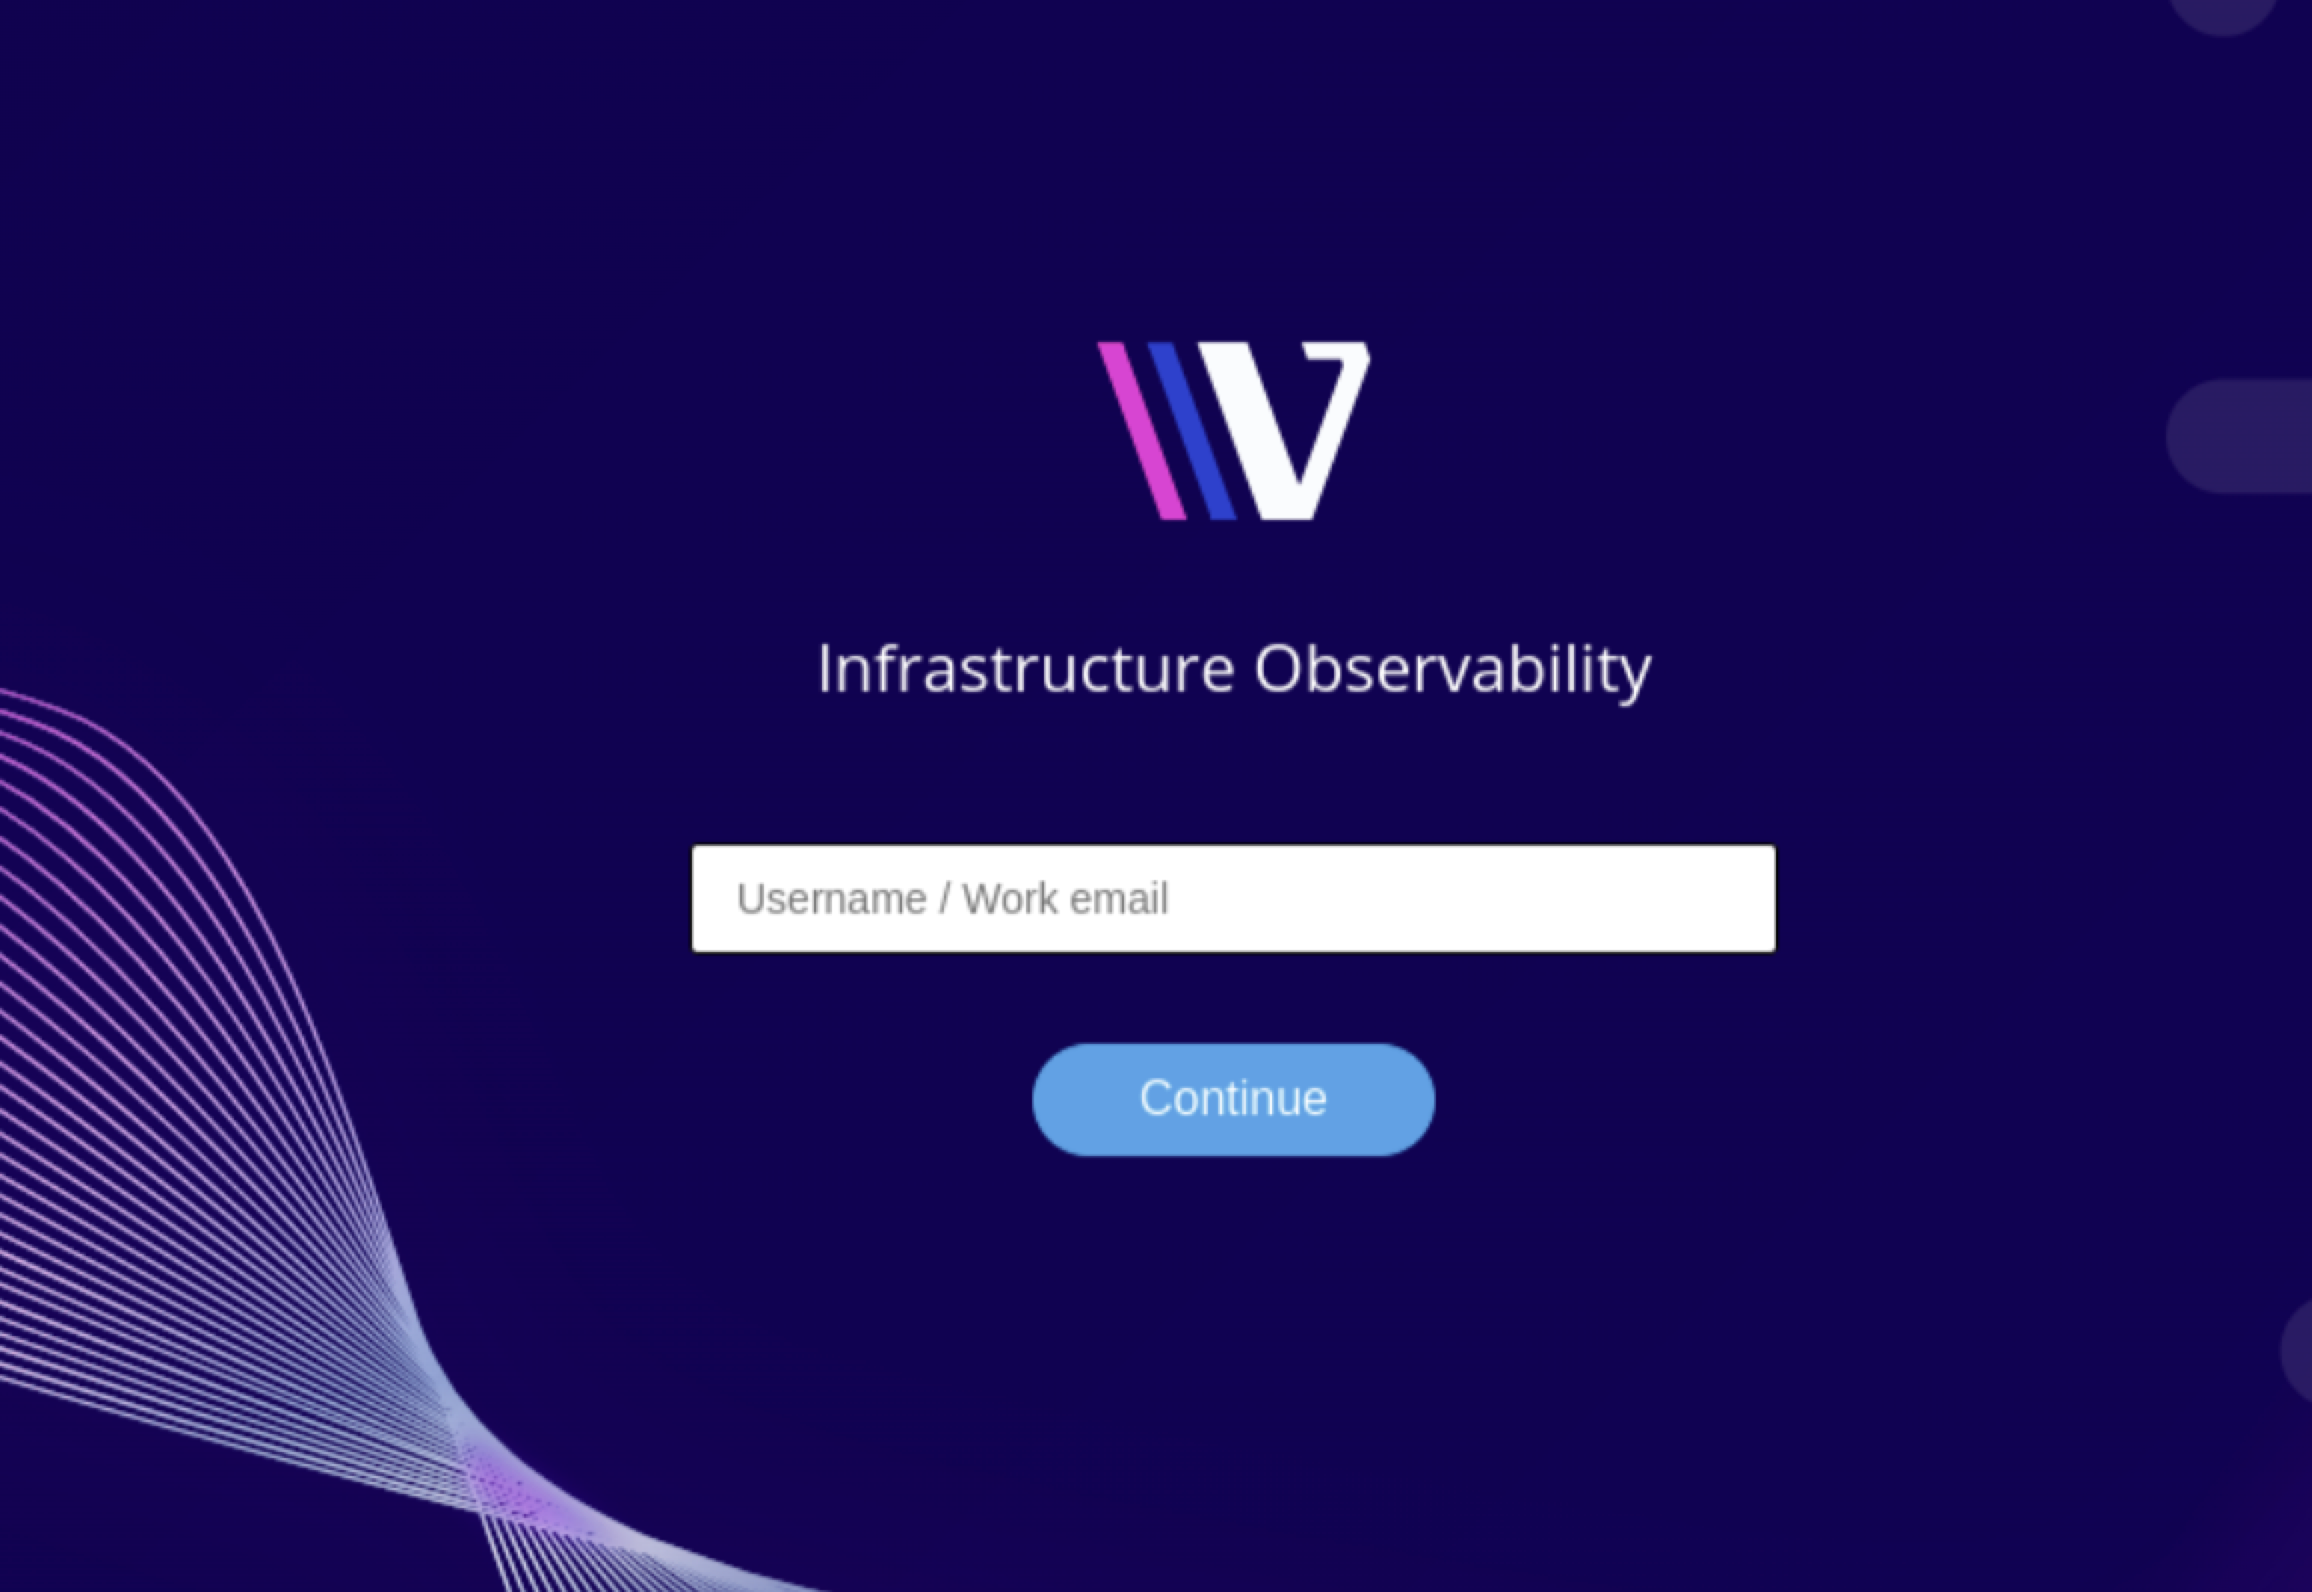
After the user enters the email ID set up in the steps, they will be directed to the login screen of the SSO provider.
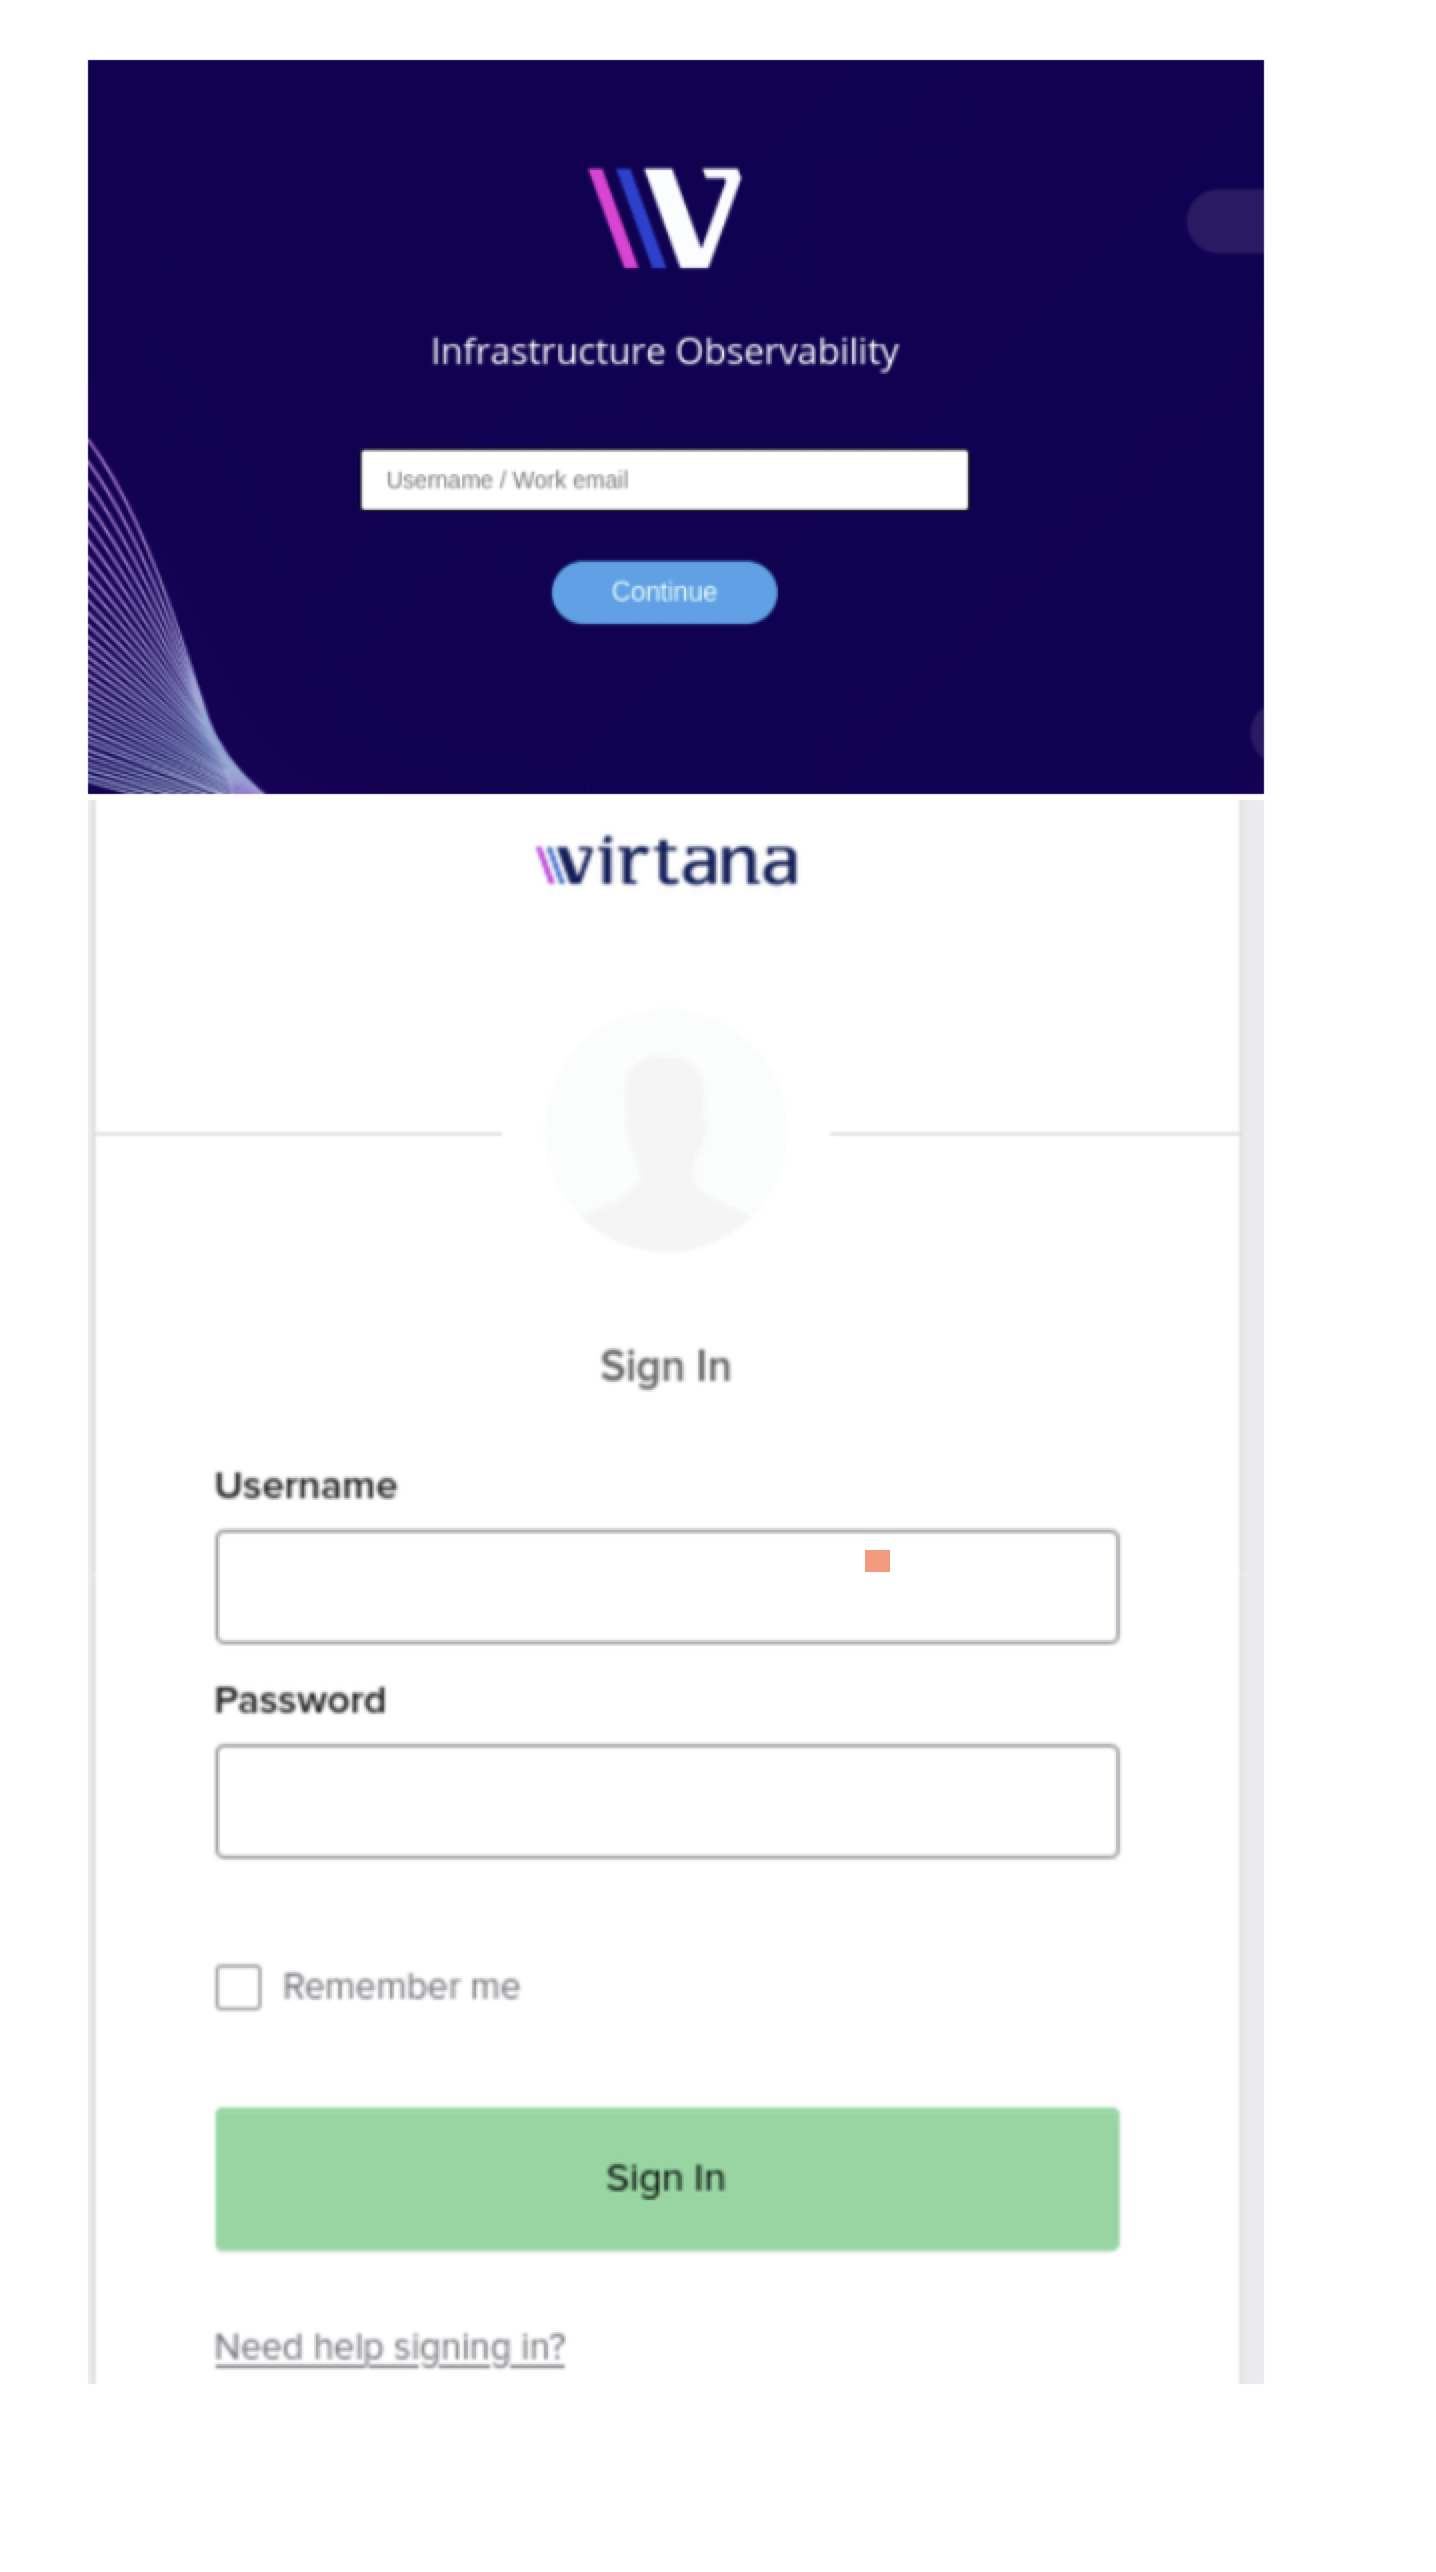
Users can enter their login information on the SSO provider's website. After logging in successfully, the SSO provider sends them back to IO's SAML login page. Then, IO checks the login details. If everything is okay, users are taken to the right page, like the IO dashboard. If users are already logged in, IO checks if they are valid SSO users. If they are, they are directed to the right page, such as the IO dashboard.
If an SSO user is not added:
If SSO configurations are not saved and an SSO user is added, the login window will display the option to log in.
Log in using IO username/password.
