System preferences
You can configure system defaults from the Admin → System preferences page. Your account must have the Manager role to view the page.
- Theme
The default theme is dark mode (light text on dark background), which you can change to light mode (dark text on light background). Users can override this configuration, if desired.
- Homepage
The default homepage displays various links and a search window. You can choose any shared dashboard page instead, and users can override this setting with any personal or shared dashboard, if desired.
- Logo
In the default configuration, Virtana Service Observability displays the Virtana logo in both the upper-left corner and the lower-right corner of the page. You can replace the logo in the upper-left corner with your own logo, and you can specify separate files for dark mode and light mode.
Use any image format for your replacement. The minimum size is 130 x 36 pixels (width x height). Larger sizes are constrained to the minimum size.
- Favicon
You can replace the default Virtana favicon with your own. A size of 16 x 16 pixels is recommended.
- Login message
You can create a message that users must acknowledge before completing their login to Virtana Service Observability. The message can include any plain text content.
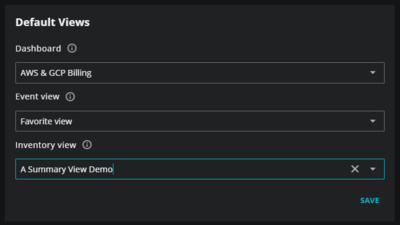
- Default views
You can choose any shared dashboard, event view, or inventory view for your users. When they navigate to Dashboards, Events, and Inventory, the view selected here opens. Users can override these settings with any personal or shared dashboard or view.
- Email Addresses
You can generate and manage dedicated email addresses for your tenant to capture inbound email notifications as events. You can add a label to each address to identify what it’s used for.
When an email is sent to an active tenant address, Virtana Service Observability automatically generates a corresponding event:
Source: Populated from the sender (
From) email address.Summary: Populated from the email subject line.
Body: Populated from the email message body text.
Attachments: Ignored and not processed.
To add an email address:
From the navigation menu, go to Admin → System preferences.
Scroll to the Email Addresses section.
Click Add.
A randomly generated
@virtana.aiemail address is created and added to the list. The label field is blank until you add one.
Note
Email address prefixes are generated automatically and can’t be customized.
To add or edit a label:
In the Email Addresses list, locate the address.
Click the edit icon (pencil) next to the address.
Enter a label that describes what the address is used for, such as the name of the system that sends email to it.
To delete an email address:
In the Email Addresses list, locate the address you want to remove.
Click the delete icon next to the address.
The address is deleted immediately. Emails sent to this address no longer generate events.
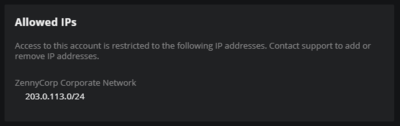
- Allowed IPs
Restricting access of your Virtana Service Observability instance to specific IP addresses enhances security by helping to prevent unauthorized use. To enable this feature, contact Virtana support to specify the allowed IP addresses or ranges. All other IP addresses are blocked by default.