Manually Creating an Export Job
The following steps should be followed to create an Export Job manually.
Go to Microsoft Azure portal
Go to the Search Bar and type cost export to redirect to Cost Exports.
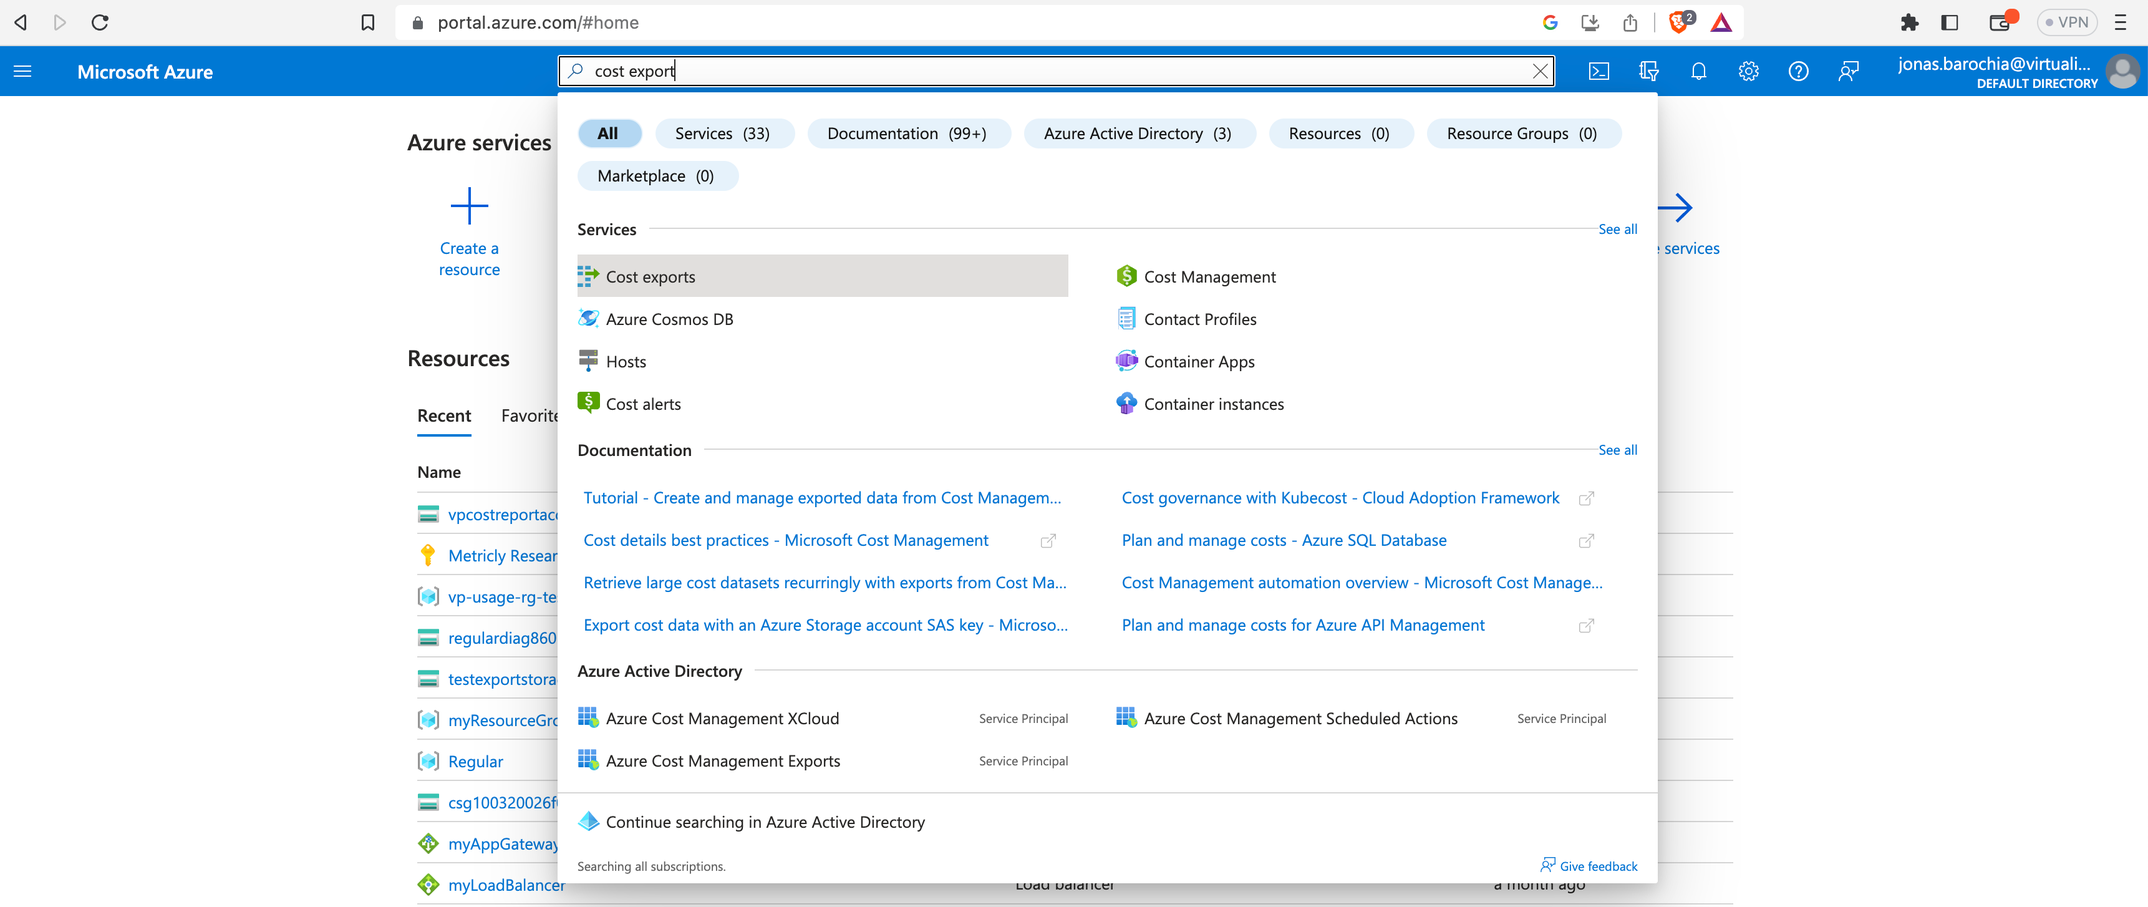
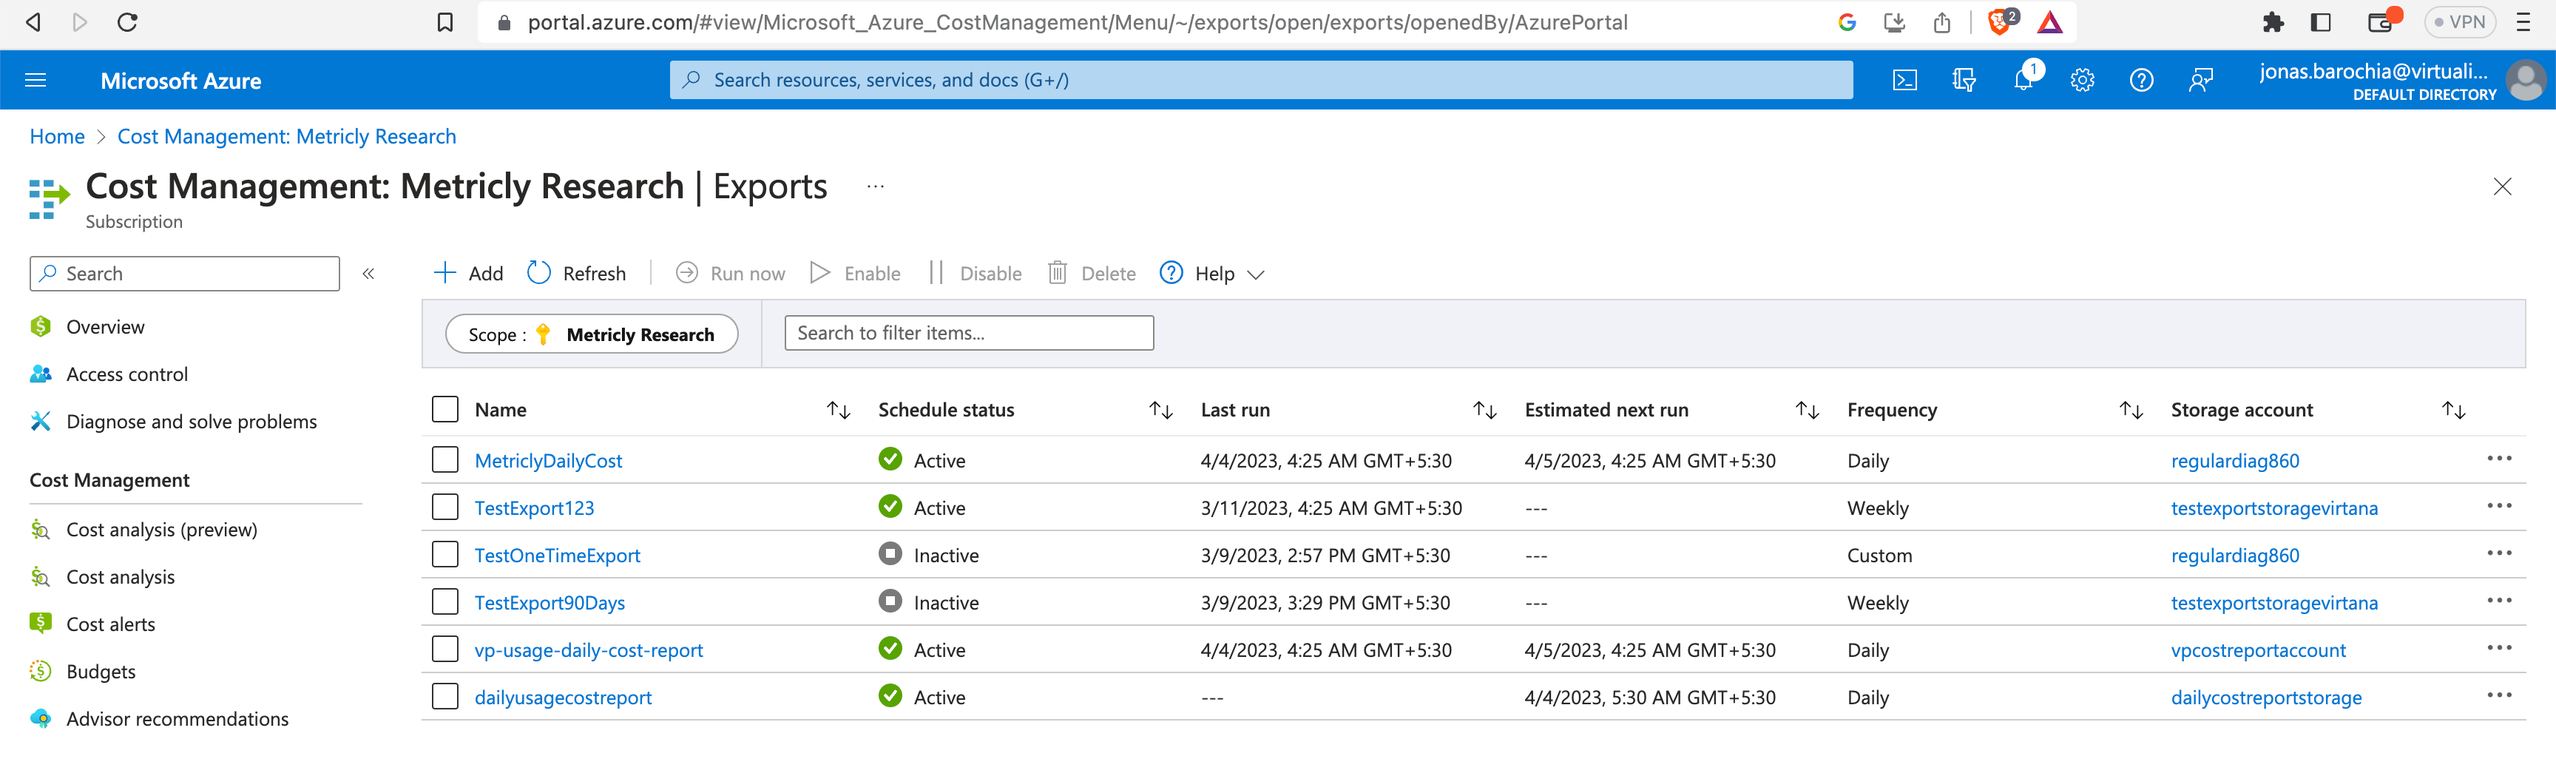
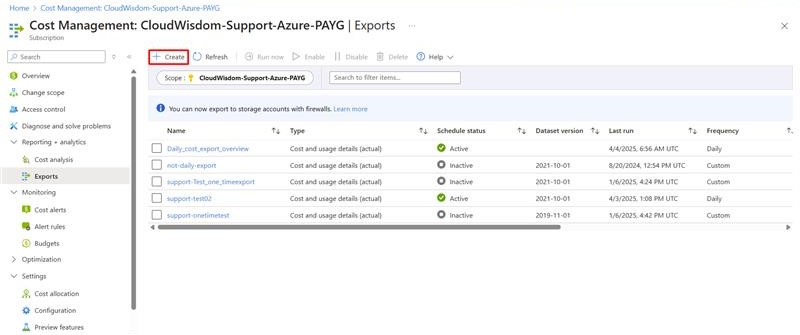
After going to Cost Exports, you will see a list of already configured jobs. Click Create to start the configuration.
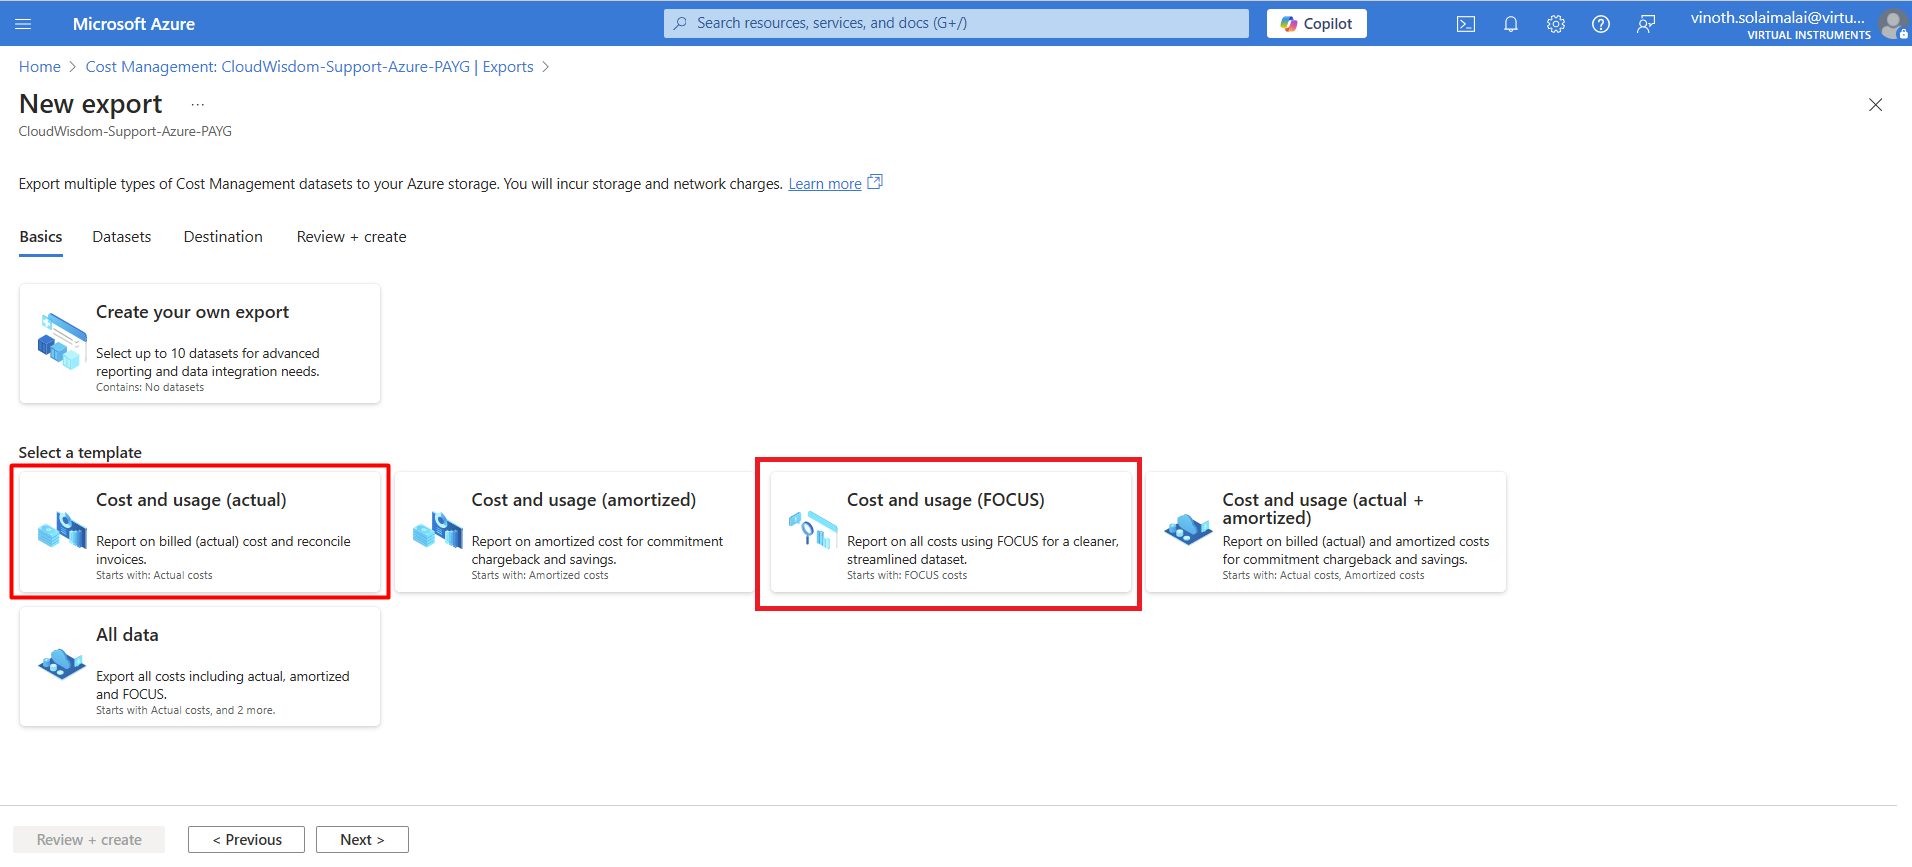
The New export page is displayed.
Select the Cost and usage (actual) template to generate reports on billed (actual) costs and reconcile invoices.
Select the Cost and usage (FOCUS) template to generate reports on all costs using FOCUS for a cleaner, streamlined dataset.
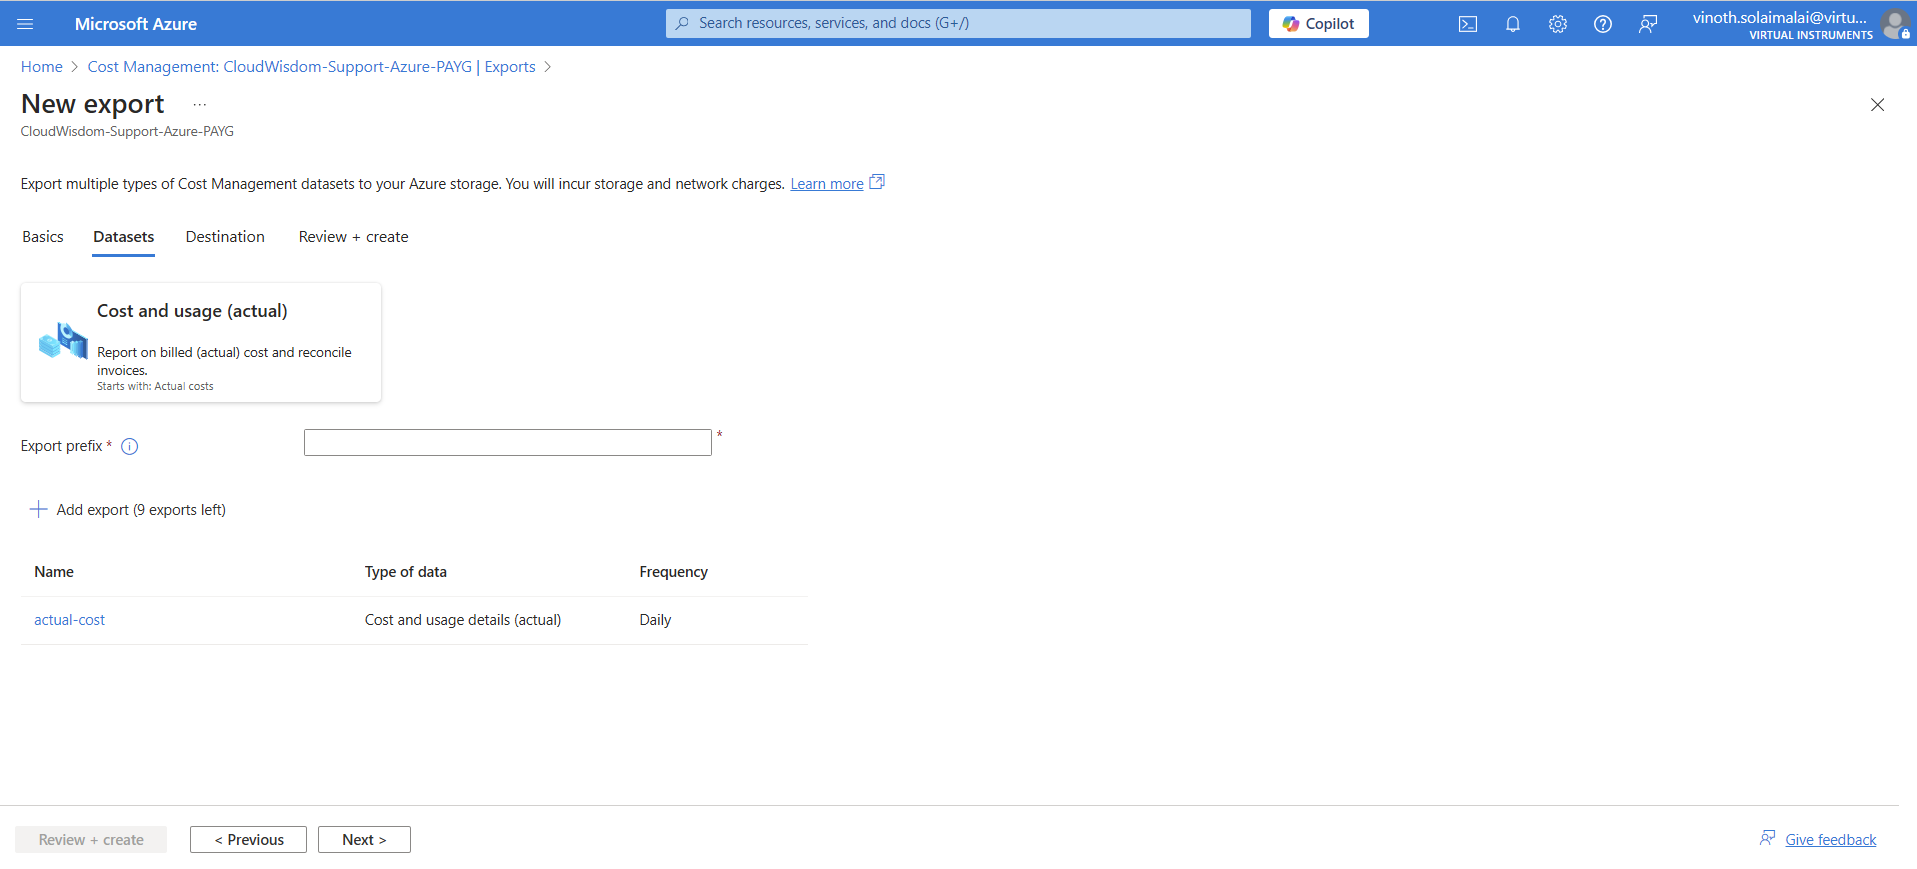
When you select the Cost and usage (actual) template, you will be redirected to the Cost and usage (actual) dataset on the New export page where you can view the actual generated report.
Configure the Storage section.
Click on Create New radio button and select the Subscription.
Note
The selected subscription should be the same as the one in the cloud integration.
An existing Resource Group can be selected or a new one can be created by selecting the Create New option below the Resource Group field and providing a name. Click OK to continue.

Select the Subscription and Storage Account from the respective dropdown. Enter the details for Container and Directory. Select the Format and Compression type from the respective dropdown.
Click Create and the interface will be redirected to the list of configured Exports.
Run the created Export Job to ensure that Cost and usage report is available for consumption when the integration is saved.
Now that the Export Job has been manually created, the user roles need to be setup to enable data collection. Refer to Assigning Role for collecting Cost data from the Export Job. for more details.
Once all of the above steps are done, use the created Export Job name and region in the Cost and Usage Report configuration screen as mentioned in Create a Cost and Usage Report in Azure