Working with triggers
Defining a trigger involves the following steps:
Create the trigger. This step defines the name of a trigger.
Edit the trigger. This step defines the rules of the trigger and optionally, the users who can edit the trigger.
All new triggers include the following rules:
The device production state equals
Production.The event severity is greater than or equal to
Error.
Most event properties can be used in rules, including:
Device and device component
Event summary
Event count
Device location
For more information about event properties, see Event fields.
Rules can use the following operators for comparisons:
Equals / Does not equal
Contains / Does not contain
Greater than / Greater than or equal to
Less than / Less than or equal to
Text comparisons are case-sensitive.
Best practice recommendations
Use the Count property in triggers and the delay and repeat options in notifications to calibrate the sensitivity of a notification.
Typically, configuring a notification to initiate its action the very first time one of its triggers matches an event results in false alarms. Services send events in response to temporary conditions frequently, so a delay, a count, or both can reduce frustrating false alarms.
Set delays at a minimum of one polling cycle plus 10%. This provides enough time to determine whether the observed conditions are temporary or symptoms of an issue that needs attention. The default polling cycle is 300 seconds (5 minutes) and is defined by the zPropertyMonitorInterval property.
The repeat option has priority over other options, except delay. So even if the Send only on Initial Occurrence option is checked, the notification action is repeated until the trigger no longer matches an event.
The Send only on Initial Occurrence option is useful for all events except intermittent, out-of-band events.
For more information about notifications, take a look at this video. It features a different version of Collection Zone technology, but all the steps are identical.
Creating a trigger
Follow these steps:
Navigate to EVENTS > TRIGGERS.
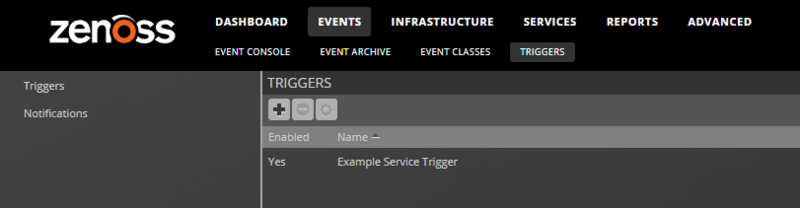
Click the Add icon.
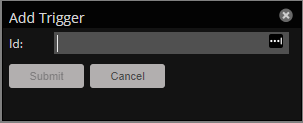
In the Id field, enter a name for the trigger.
Tip
Use descriptive names. For example,
LinuxDBServerFileSystemHigh.Only uppercase and lowercase letters, digits, spaces, and underscores are allowed in trigger names.
Click Submit.
Editing a trigger
Follow these steps:
Navigate to EVENTS > TRIGGERS.
Double-click the name of the trigger to edit.
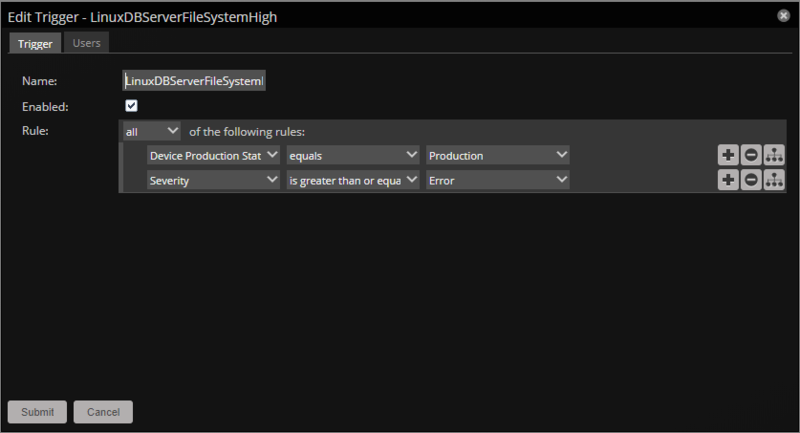
Modify the default rules, add new rules, or add subordinate rules.
Tip
To identify the properties to include in a rule, navigate to EVENTS > EVENT CONSOLE and review examples of the type of event for which the trigger is targeted.
Click Submit.
Trigger permissions
Setting global permissions
You can set global permissions for viewing, editing, and managing triggers. Global permissions are given to any user with "manage" permission, which includes:
Users with the ZenManager role
The trigger owner
Edit global permissions from the Users tab on the Edit Trigger dialog.
Global options are:
Everyone can view - Global view permission.
Everyone can edit content - Global update permission.
Everyone can manage users - Global manage permission.
Setting individual permissions
You can grant permissions to individual users.
Write — Select this option to grant the user permission to update the trigger.
Manage — Select this option to grant the user permission to manage the trigger.
To set an individual's trigger permissions:
In the Edit Trigger dialog box Users section, choose a user.
Click Add.
Select check boxes for the permissions to assign.
Repeat these steps to add more user trigger permissions.
Click Submit.
To remove an individual's trigger permissions:
Select the row of the user's permissions.
Click the Remove icon.
Repeat these steps to remove other user trigger permissions.
Click Submit.