Installing on VMware vSphere hypervisors
Use this procedure to install the collector virtual appliance as a guest system on a VMware vSphere hypervisor. The virtual appliance has been tested on vSphere versions 6.0, 6.5, 6.7, and 7.0.
Warning
The minimum supported version of vSphere is 6.0. Earlier versions do not work with the current virtual appliance.
Prerequisites
To perform this task, you need:
A vSphere client.
Permission to download files from delivery.zenoss.io.
Customers can obtain permission by filing a ticket at the Virtana Support site.
Procedures
Follow these steps to install on a vSphere hypervisor host:
Optional: Add multiple interfaces
Optional: Adding multiple interfaces
FIXME TRANSCLUSION: reuse _interfaces.md here (wire with fix_paligo_links.py transclusions)
Configure default route interface
Connect to the collector through SSH or a virtual machine console.
From the main menu, select Configure network.
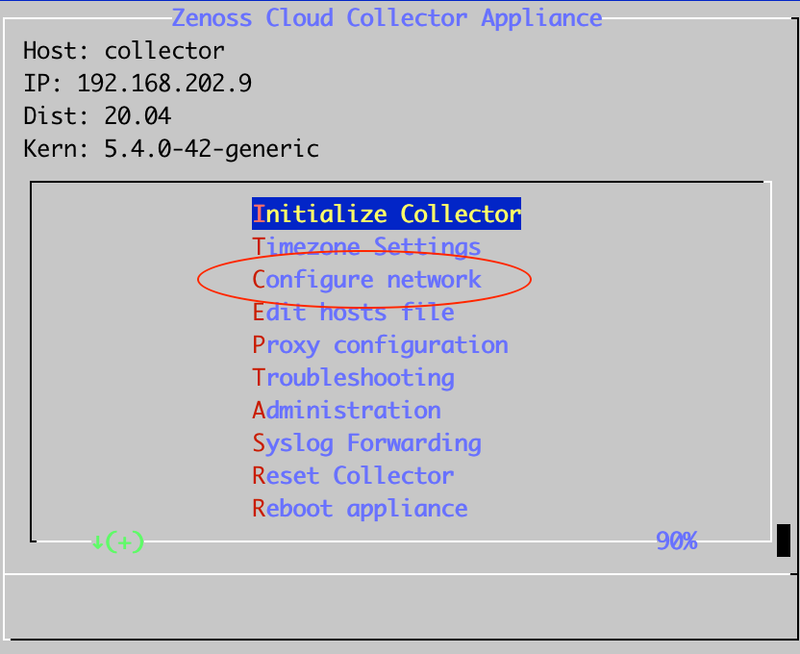
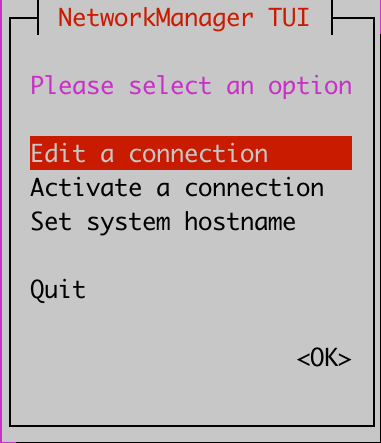
Select Edit a connection.
Select Wired connection 1, and then click Edit.
In the Device field, enter the MAC address of the network adapter.
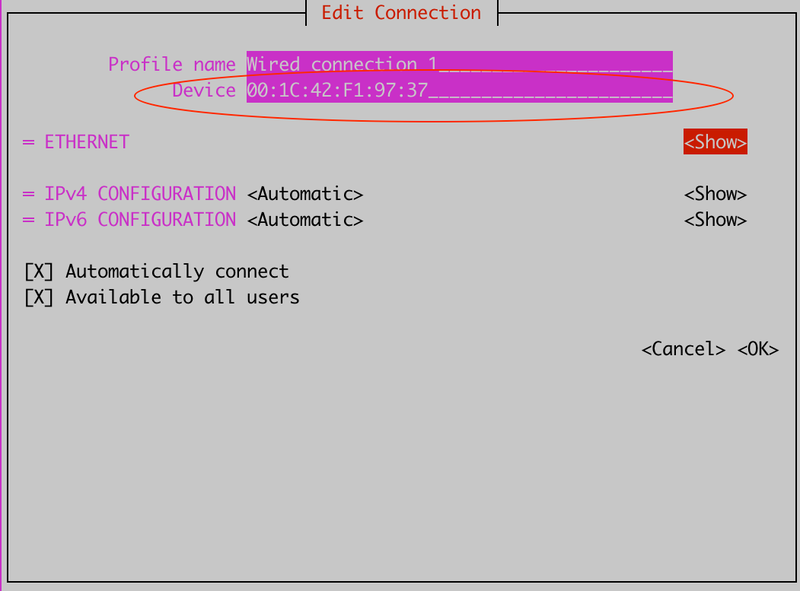
To save the configuration, click OK.
Power off the collector and add additional interfaces to the virtual machine.
Configure additional interfaces
From the main menu, select Configure network.
Select Edit a connection.
Click Add.
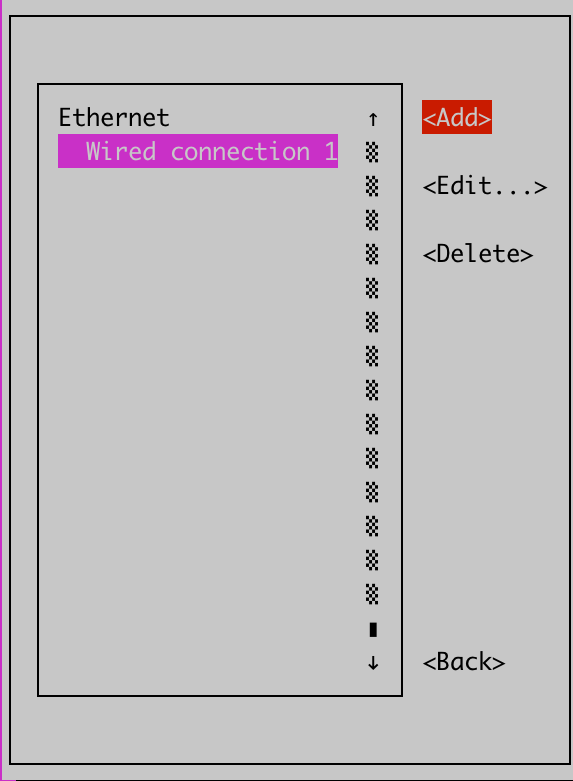
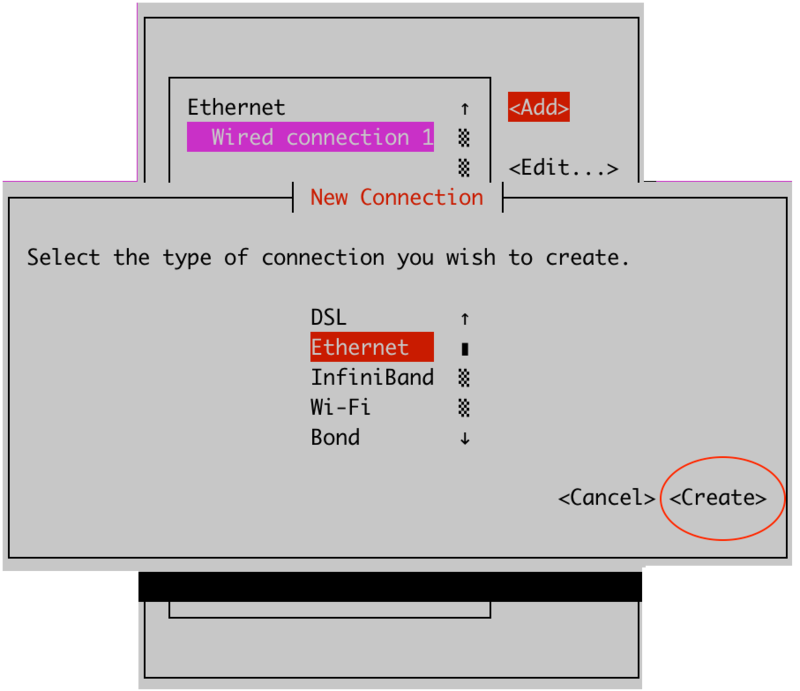
In the New Connection dialog, select Ethernet, and then select Create.
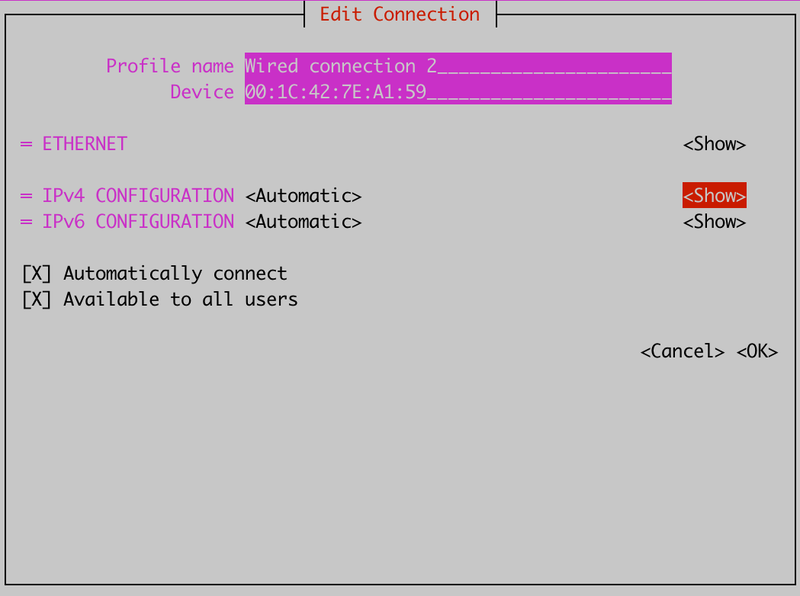
Set Profile name to Wired Connection 2.
In the Device field, enter the MAC address of the network adapter.
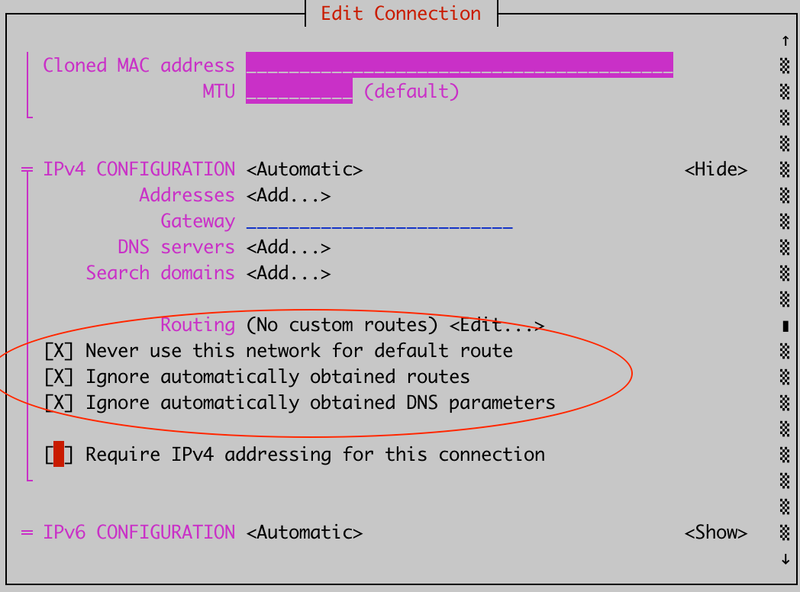
Under IPv4 Configuration, click Show, and then set the following options:
Never use this network for default route
Ignore automatically obtained routes
Ignore automatically obtained DNS parameters
To save the configuration, click OK.
Reboot the collector appliance.
Downloading the OVA image
In a web browser, navigate to delivery.zenoss.io, and then log in.
Display the Virtana Service Observability files.
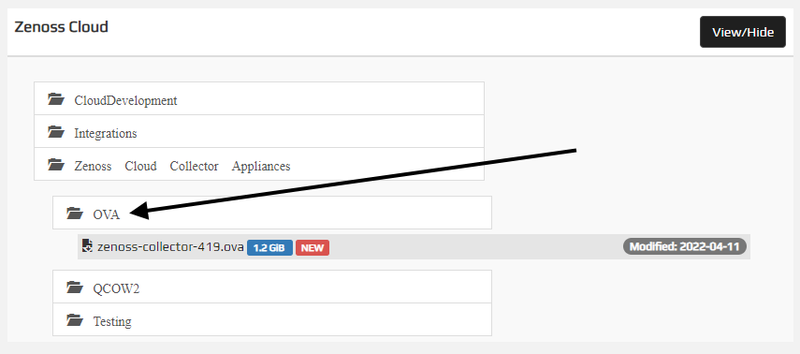
Download the collector OVA file.
In the preceding example, the filename is
zenoss-collector-419.ova. (The version number may be greater than 419.)
Installing the virtual machine
This procedure is based on vSphere Web Client 6.5. The steps might be different with other versions of the vSphere Client.
Use the vSphere Client to log in to vCenter as
root, or as a user with superuser privileges, and then display the Home view.In the top navigation bar, choose Actions > Deploy OVF Template.
Use panels in the Deploy OVF Template wizard to select the OVF package.
To choose the package from a drive on your workstation or network share, browse to the location and choose the OVA file.
Click Next.
Select name and location: Specify a name for the OVF, select a datacenter or folder as the deployment location, and then click Next.
Select a resource: Select the host, cluster, or other resource on which to run the deployed template, and then click Next.
Warning
On releases of vSphere 6.5 before update 1d, the import may fail at this step due to a known bug. To work around this issue, see Workaround for vSphere bug
Review details: Verify the template details, and then click Next.
Select storage: In Select virtual disk format, choose Thick Provision, accept defaults for other fields, and then click Next.
Select networks: Accept defaults and click Next.
Ready to Complete: Verify the deployment settings, and then click Finish.
On the new virtual machine's Getting Started tab, click Power on virtual machine.
Configuring collector networking
FIXME TRANSCLUSION: reuse _tui.md here (wire with fix_paligo_links.py transclusions)
Optional: Adding multiple interfaces
FIXME TRANSCLUSION: reuse _interfaces.md here (wire with fix_paligo_links.py transclusions)
Configure default route interface
Connect to the collector through SSH or a virtual machine console.
From the main menu, select Configure network.
Select Edit a connection.
Select Wired connection 1, and then click Edit.
In the Device field, enter the MAC address of the network adapter.
To save the configuration, click OK.
Power off the collector and add additional interfaces to the virtual machine.
Configure additional interfaces
From the main menu, select Configure network.
Select Edit a connection.
Click Add.
In the New Connection dialog, select Ethernet, and then select Create.
Set Profile name to Wired Connection 2.
In the Device field, enter the MAC address of the network adapter.
Under IPv4 Configuration, click Show, and then set the following options:
Never use this network for default route
Ignore automatically obtained routes
Ignore automatically obtained DNS parameters
To save the configuration, click OK.
Reboot the collector appliance.
Workaround for vSphere bug
Releases of vSphere 6.5 before update 1d are unable to import OVA packages that include a compressed manifest file due to a known bug.
Follow these steps to work around the problem and import the virtual appliance:
On your workstation, extract the files in the virtual appliance package into a folder, with a utility such as WinRAR or 7zip.
In the folder, delete the manifest file (with the
.mfextension).Repeat step 5a of the procedure in the preceding section. Instead of selecting the OVA file, select both of the remaining files in the folder (with
.ovfand.vmdkextensions).Both files must be selected for import at the same time.
Continue with the remaining steps of the install procedure.
Note
You may need different permissions to adminstrate a VM that is not imported from an entire OVA package.
Next step
Connect to a Collection Zone (Initializing a collector appliance).